

Original post from: August 25, 2022Hello again! ( ´ ▽ ` )ノ
This summer, instead of painting outdoor murals I spent a good chunk of it indoors because… I got the opportunity to paint a mural at the Art Gallery of Ontario!! ╰(*´︶`*)╯* ♡ * ╰(*´︶`*)╯
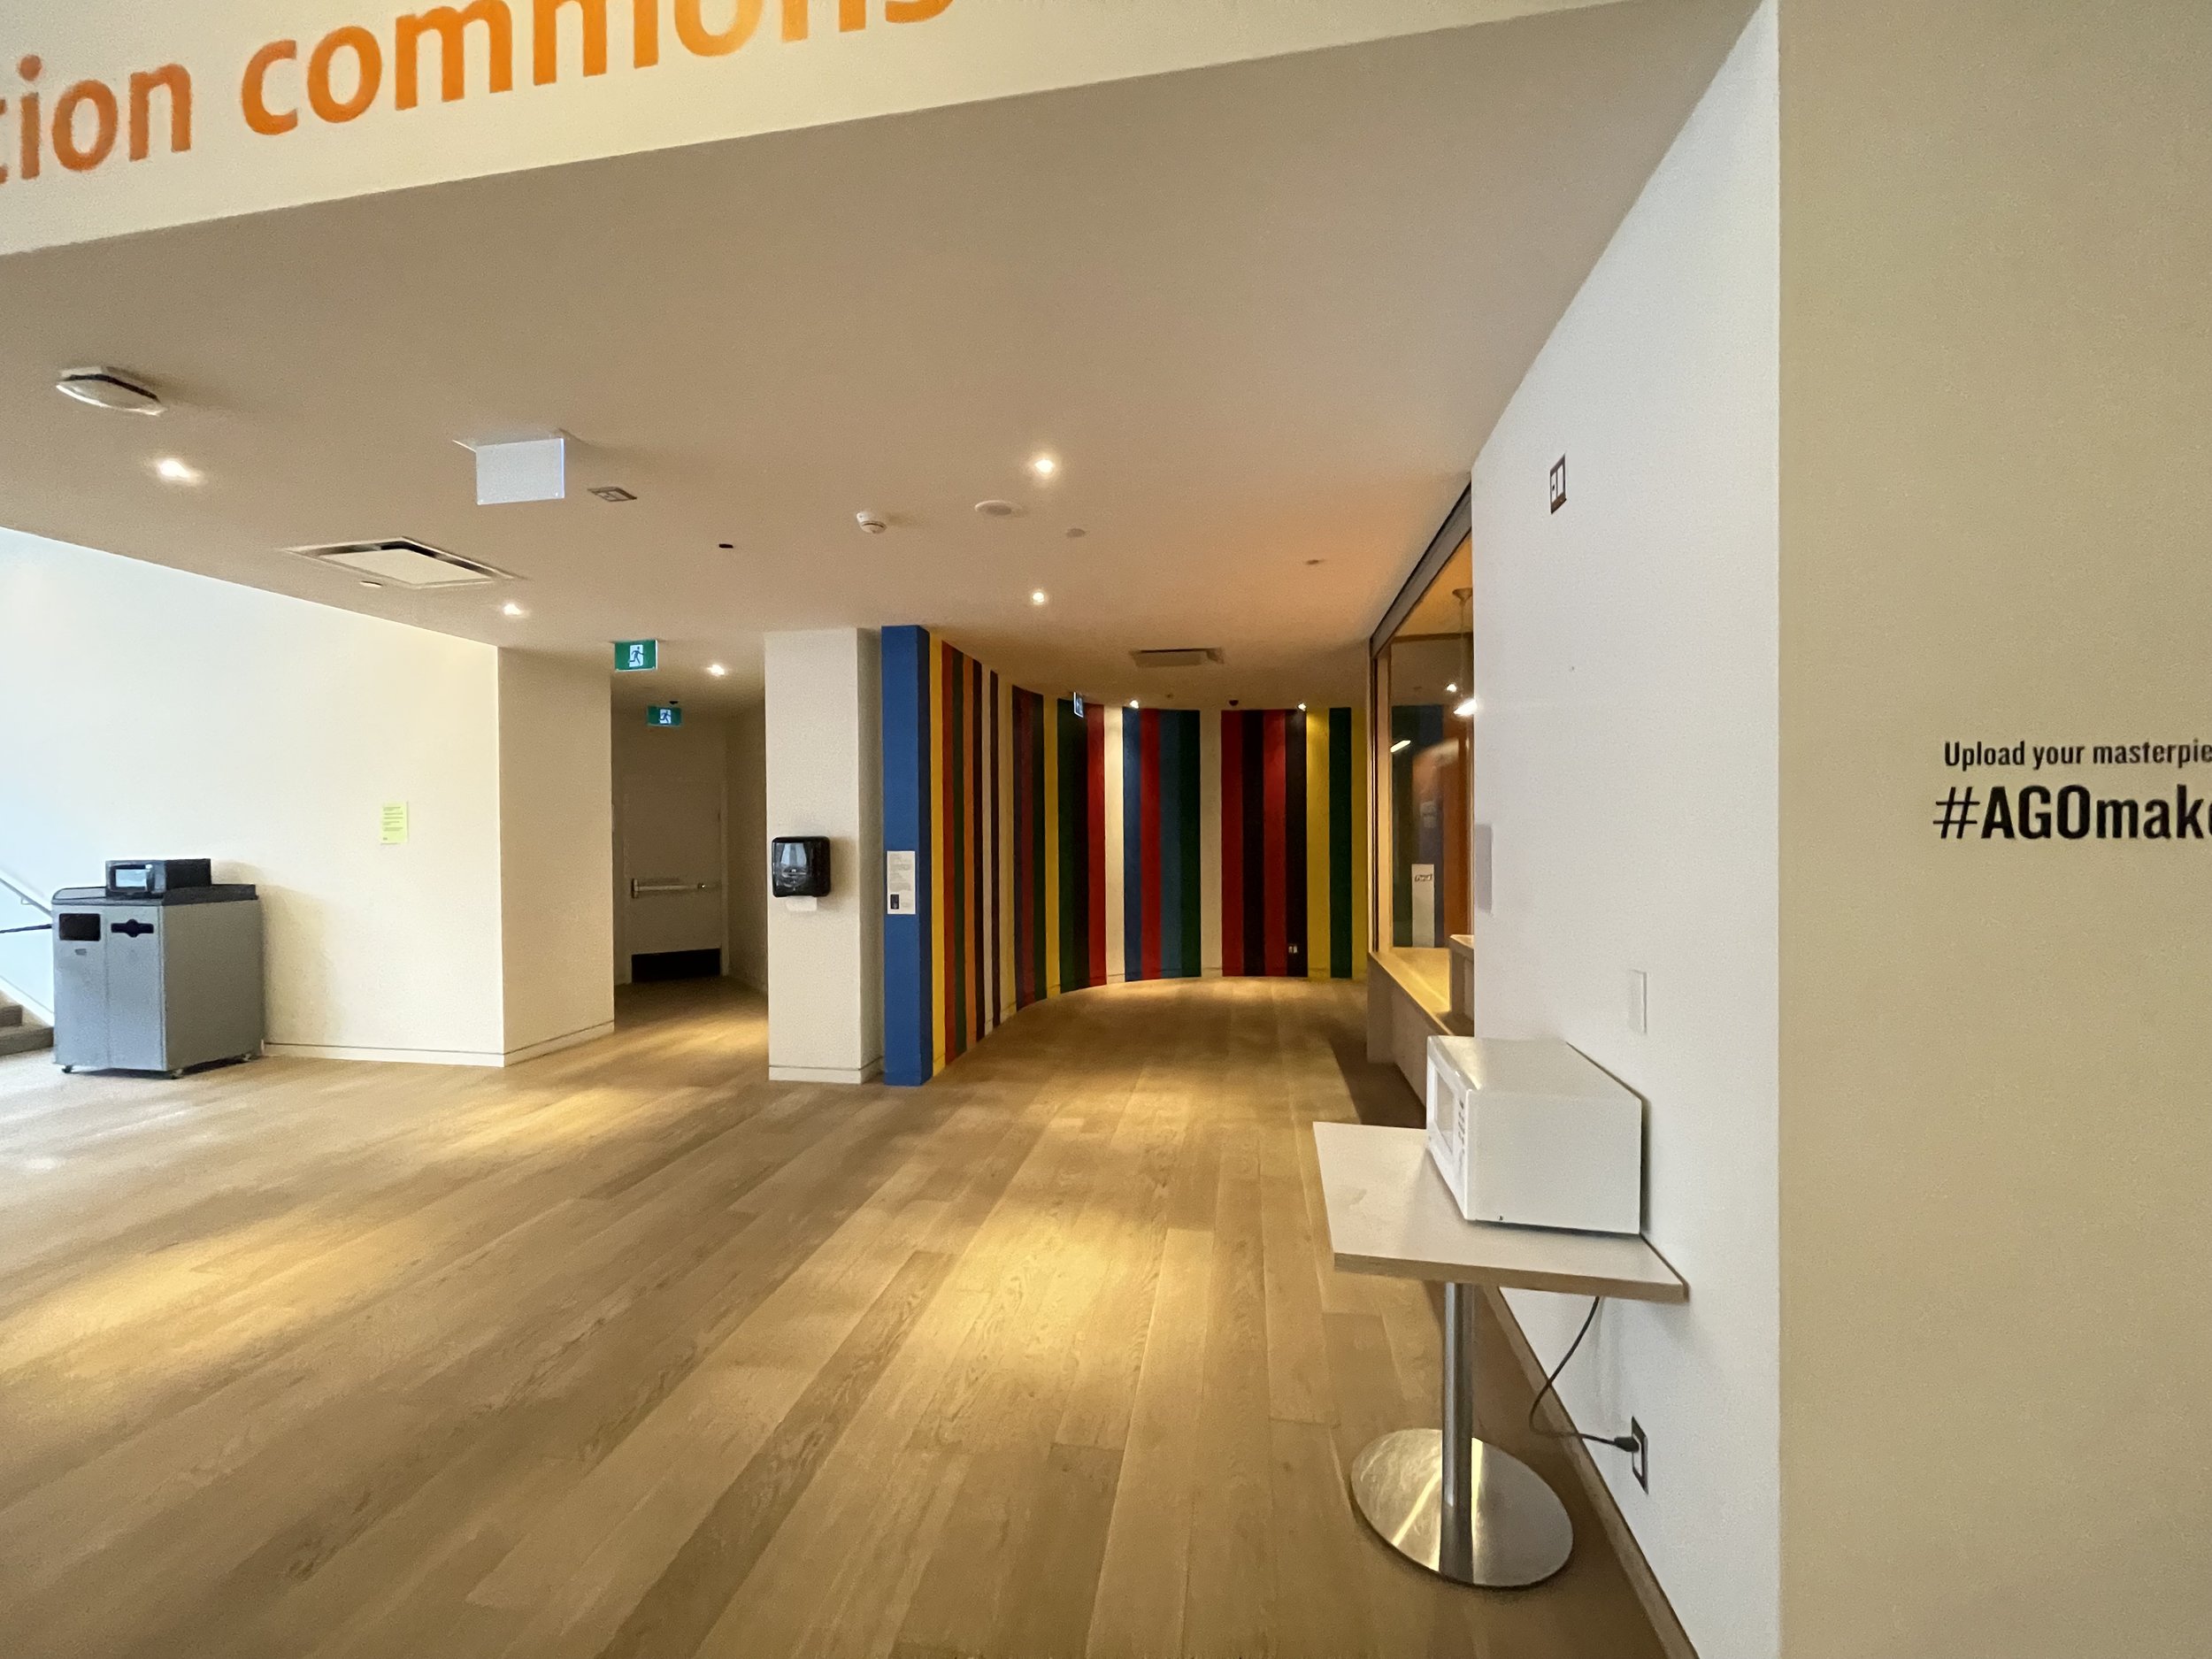
For context, the concourse level at the AGO was finally being opened up to the public again after 2 years, and a lot of it was getting a refreshed look. Last year, the AGO Youth Council co-created a web series called Inner Space, where they invited Canadian artists to do a virtual tour of their studio spaces and talk about their work. Fellow Mississauga creative Visaree Bradshaw-Coore nominated me and you can watch my video and see the rest of the series here.
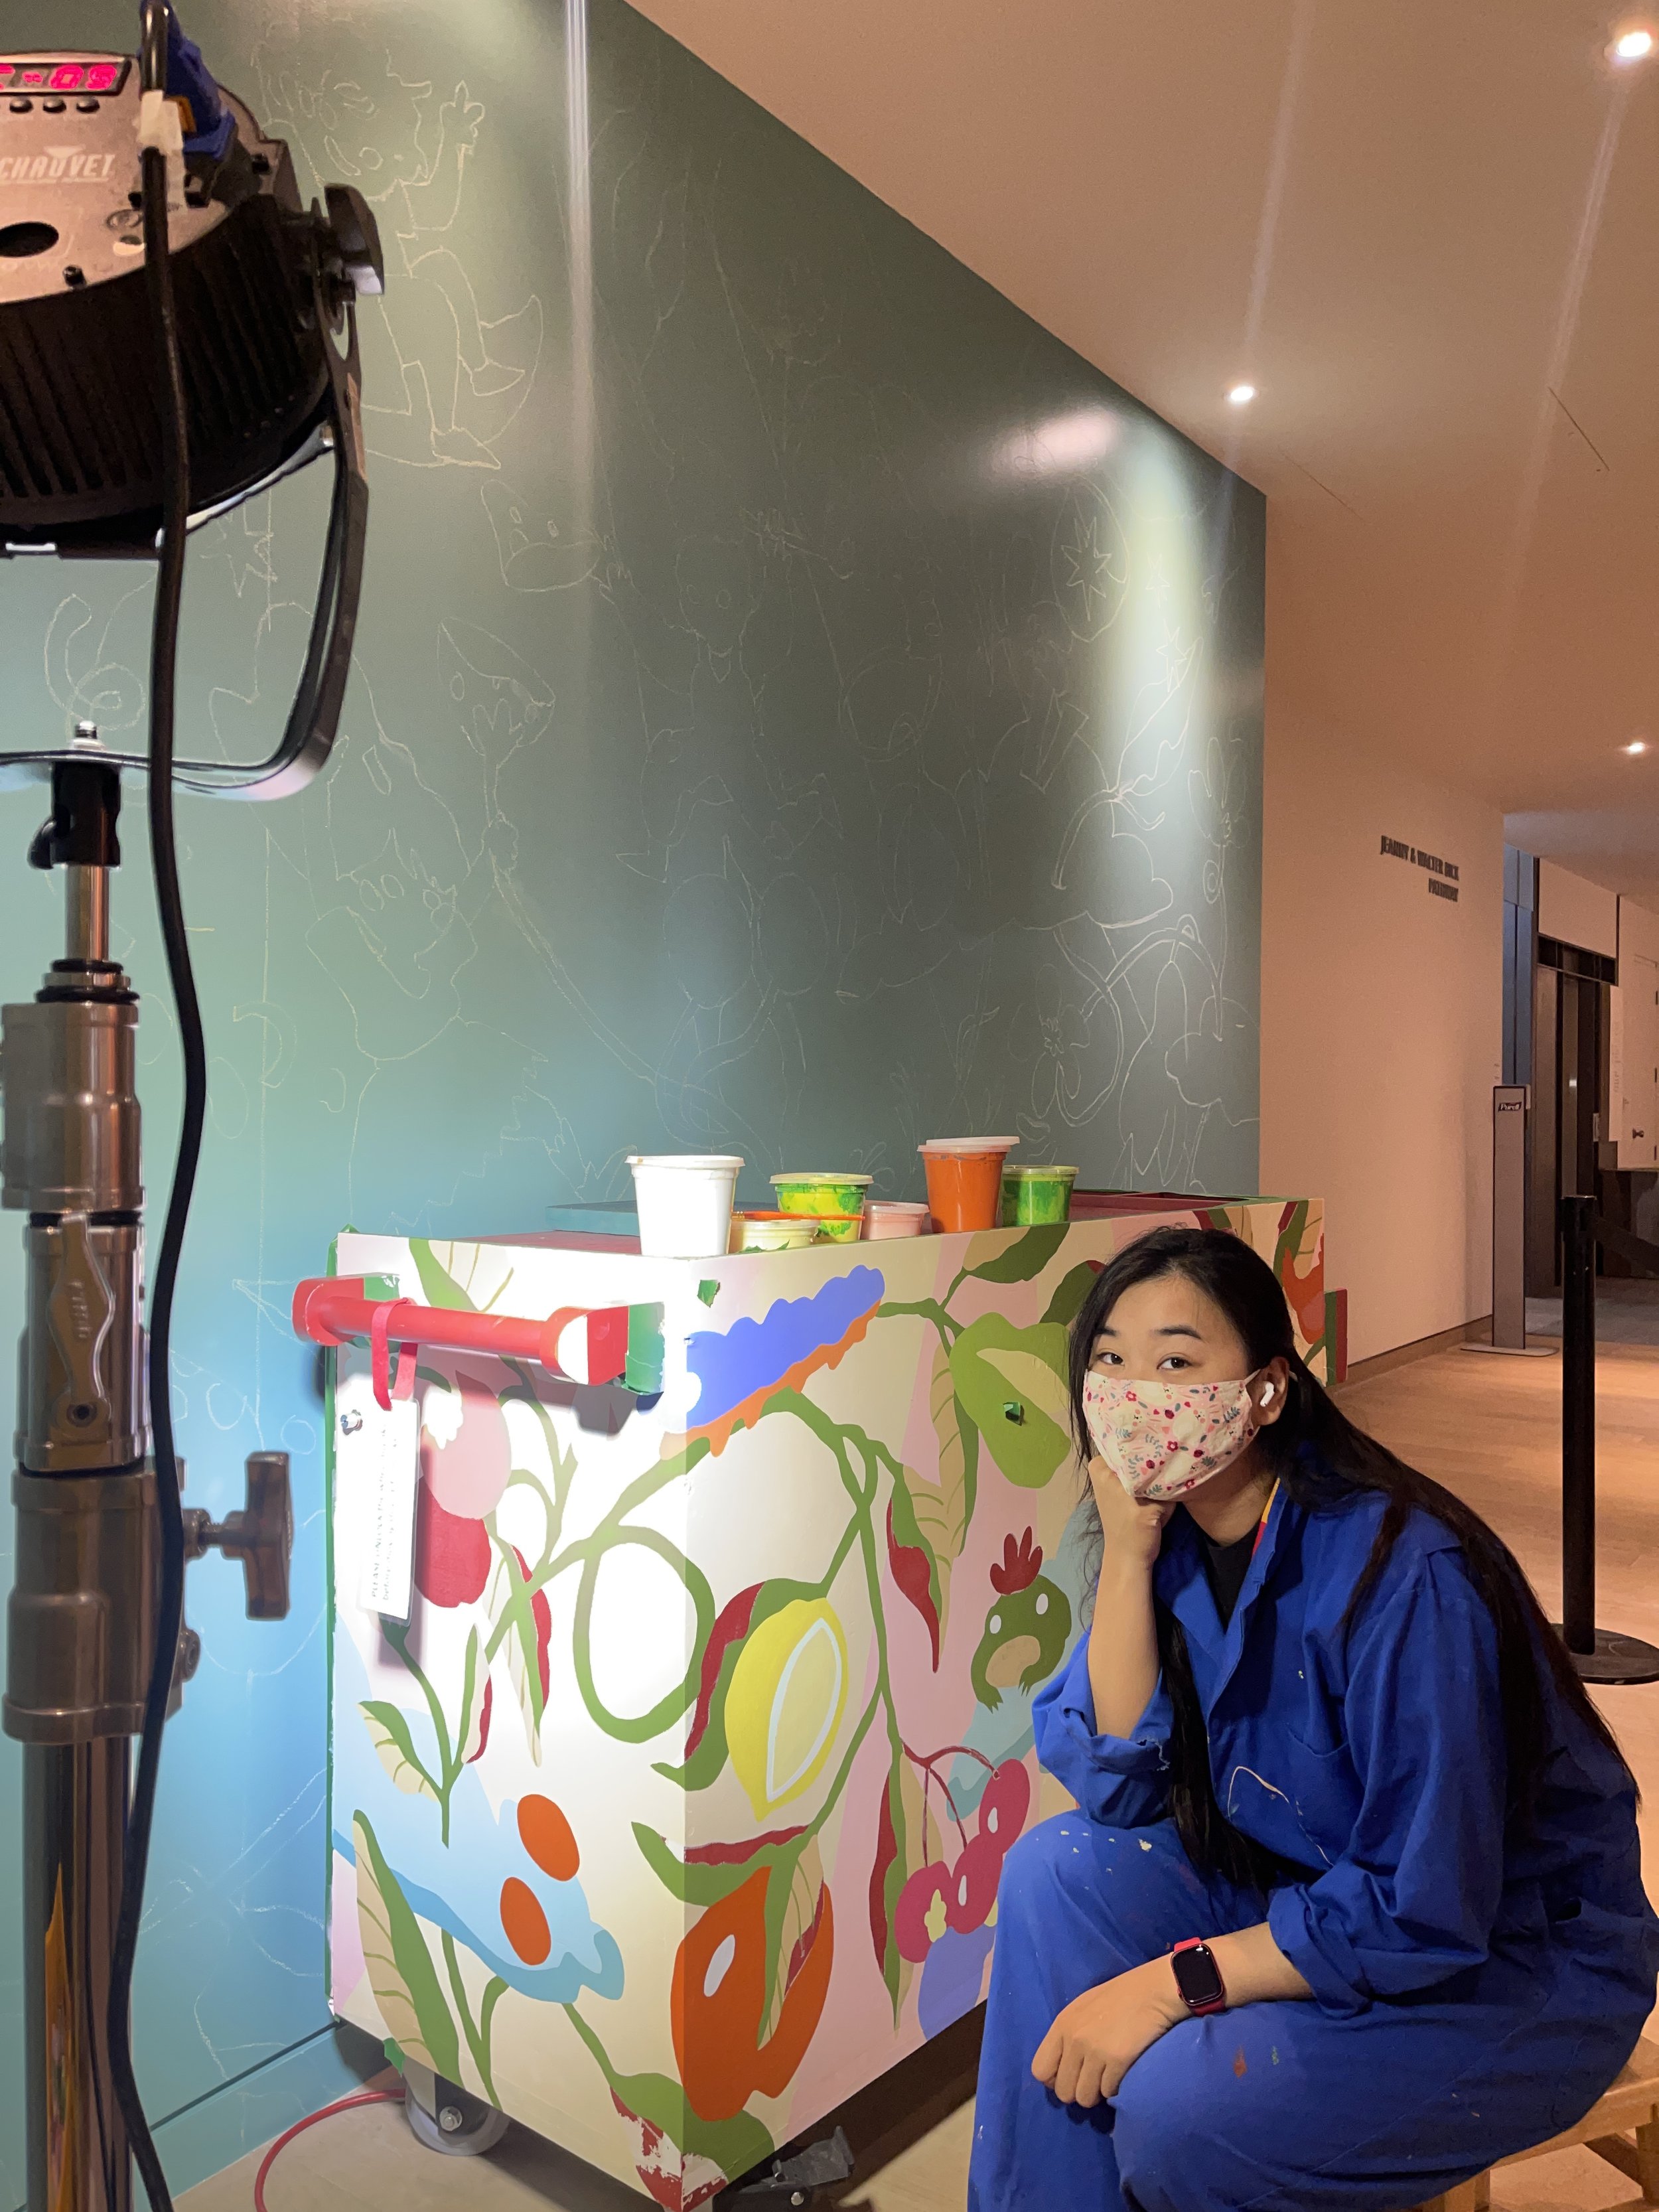
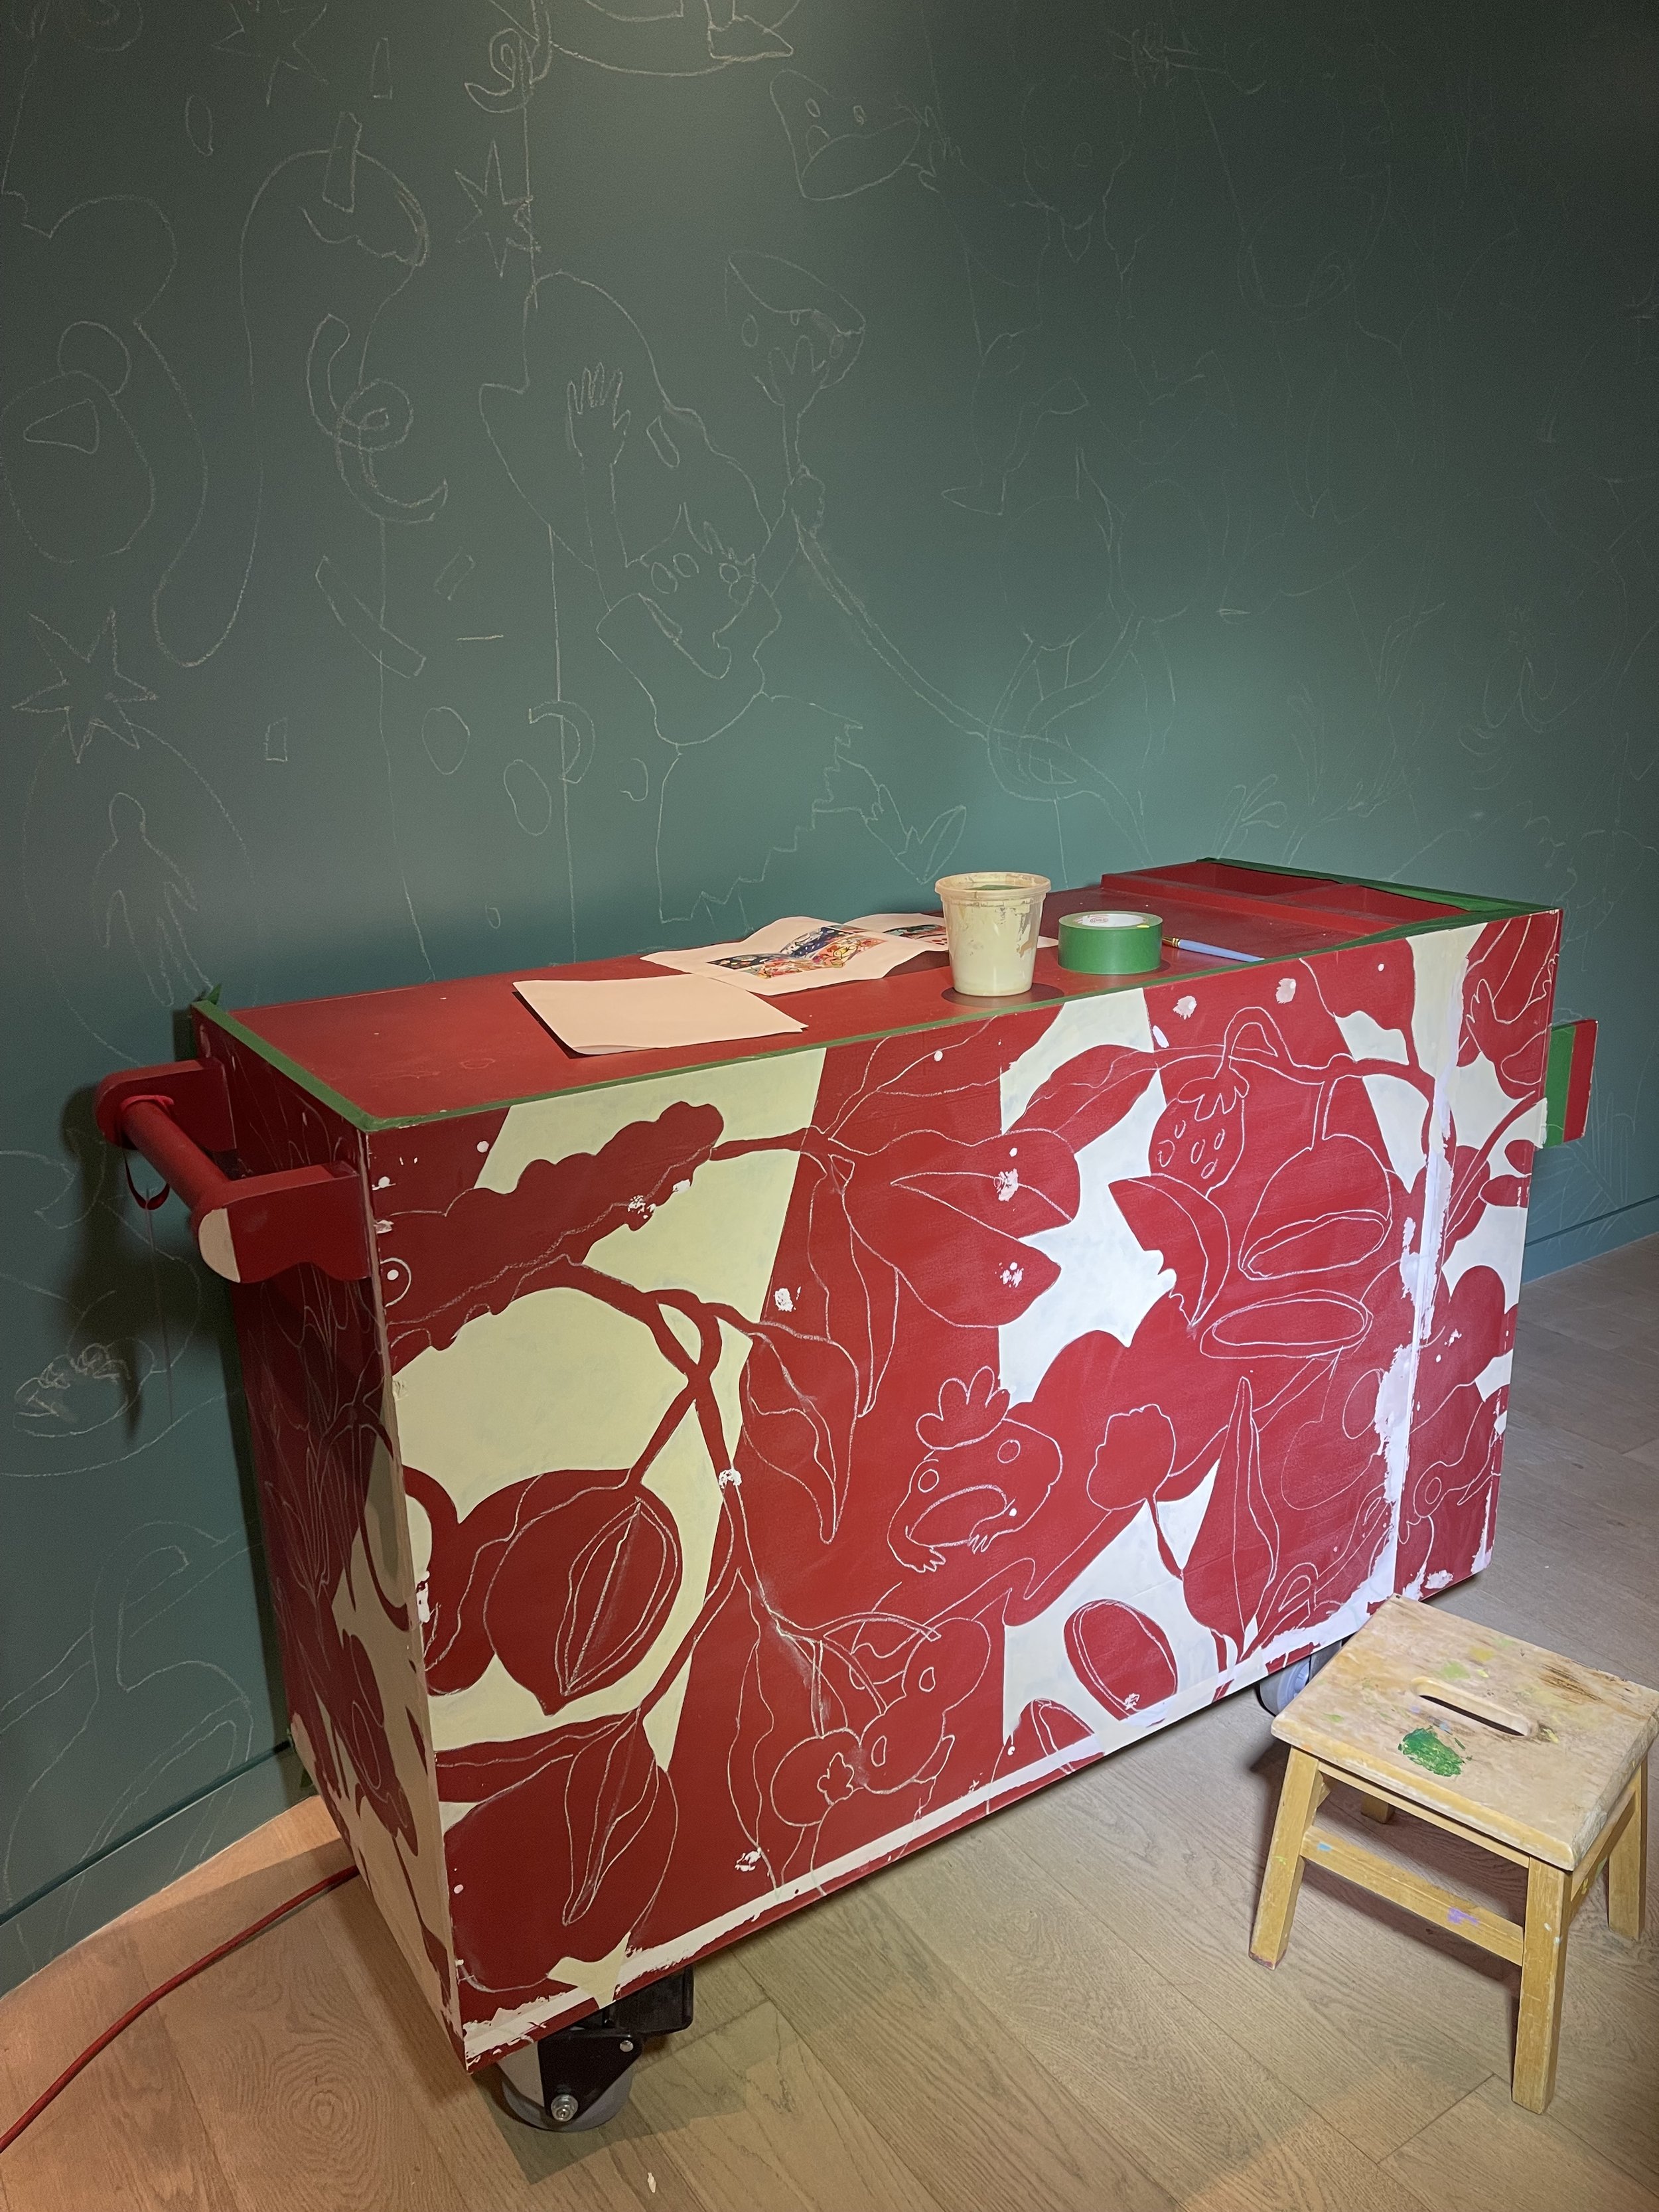
Long story short, the AGO team was connected with my practice through the Inner Space project and then offered me a giant wall (and more) on the concourse level to paint. A few spaces/items were up for discussion but we landed on a big curved wall that opens up into the Weston Family Learning Centre, where workshops, families, and school groups hang out. I was also going to paint three art carts that travel around the AGO with art supplies and activities.
I’ll be sharing part of process here so get ready for quite a bit of text, some super rough sketches, design mockups, some things I heard while painting, and time lapses of the process. Let’s go from inner space to outer space! 🌌🌛
CONCEPT DEVELOPMENT
Through discussions with the AGO team and the brief I was given, I proposed a set of designs and we went through a few rounds of changes. I got stuck on the design for a while, partly because I felt (self-imposed) pressure to do it well. Creating a design for this project was a little trickier than usual, but in good way? I was given a lot of creative freedom and encouraged to make it wilder and more “me,” and to not feel restrained by the initial idea which was to draw inspiration from and reference artworks from the AGO collection.
My ideas always start on paper first, and they look extremely rough ლ(¯ロ¯"ლ) so initially it looked like this:
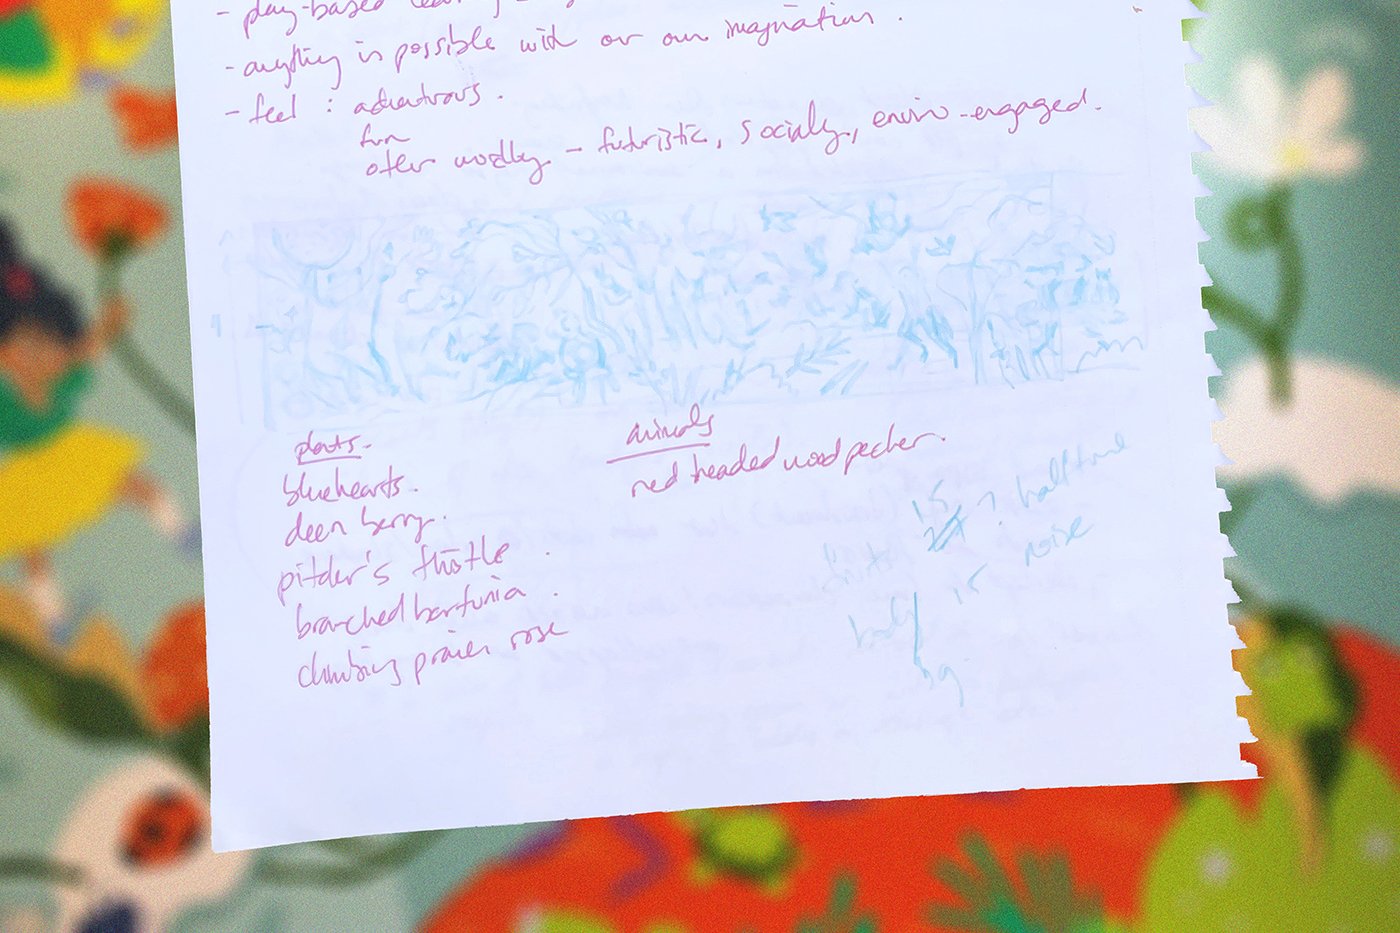
You can see I also considered including some local plant and animal life, but these get left out as I narrowed in on the design
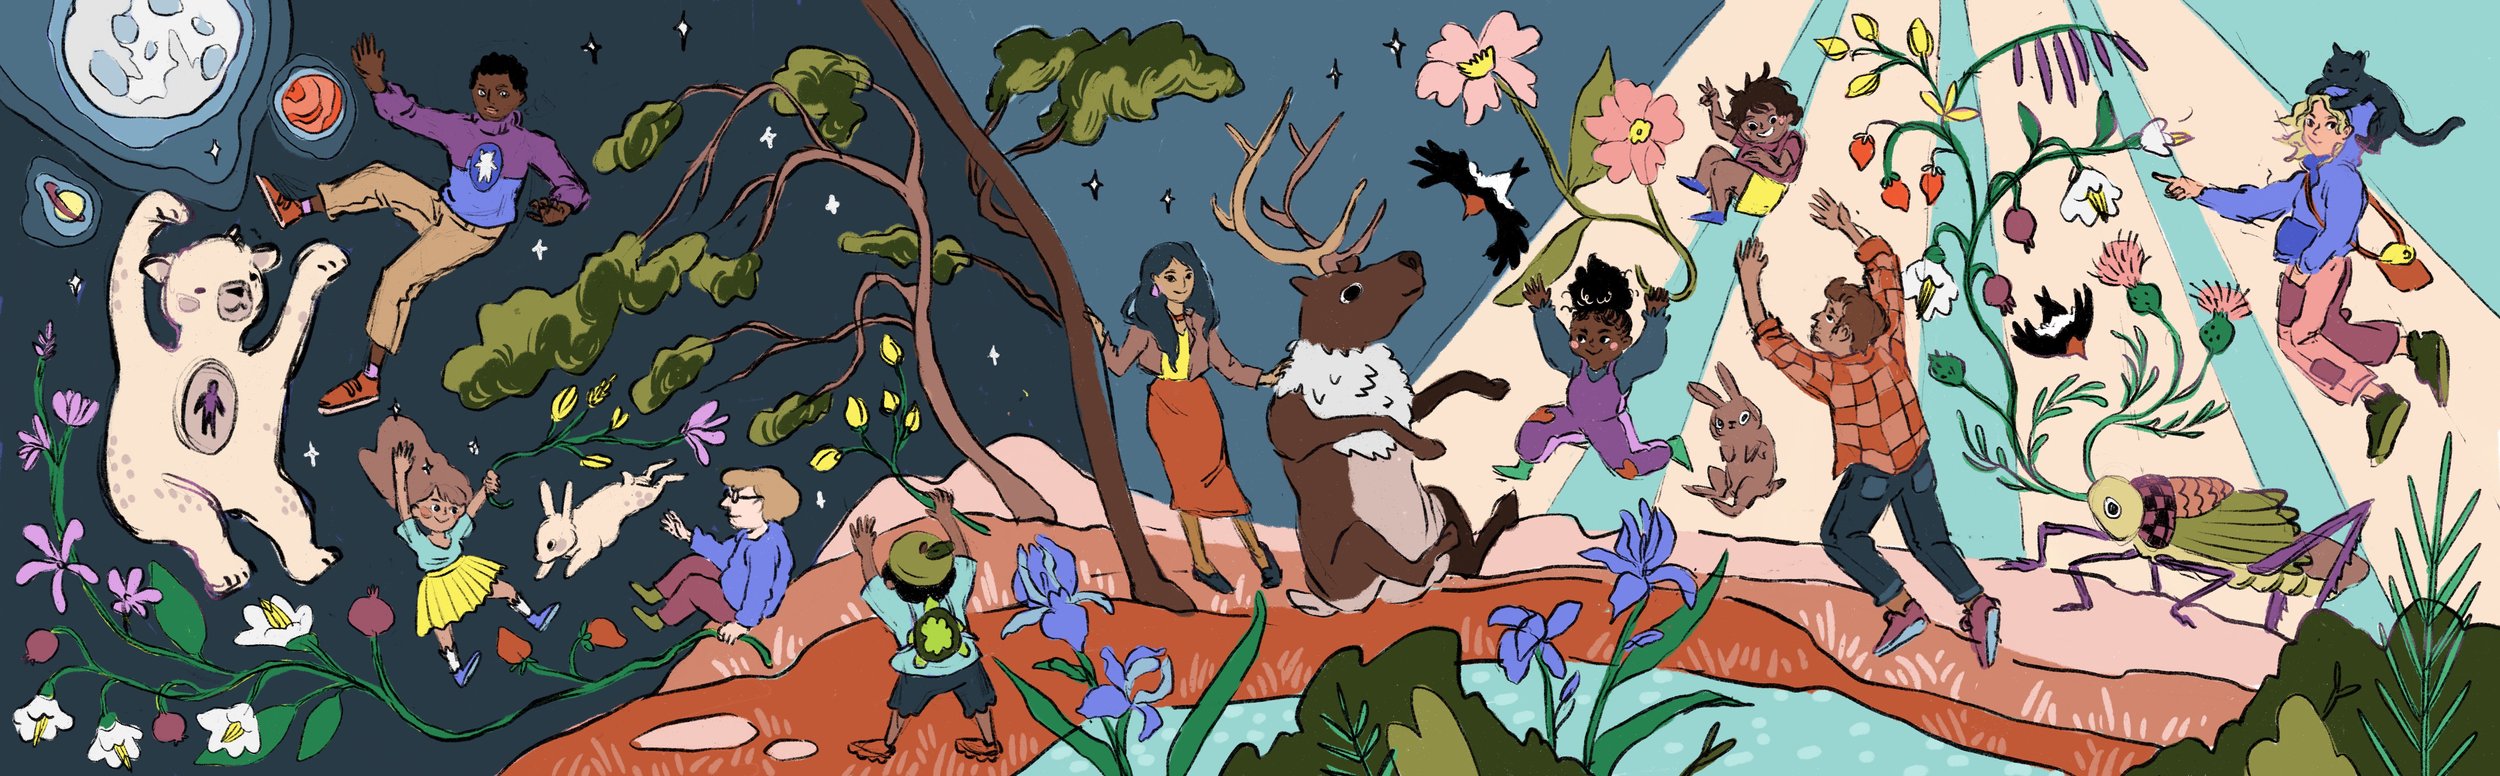
After I refined the sketch digitally in procreate, packaged nicely in a presentation deck I sent this:

The idea was to have an imaginary landscape. A whimsical and magical scene that turns from day to night as visitors walked along the wall. Characters were to be life-sized, floating and frolicking among lots of natural elements. Also, a lot of space and water themes that you’ll see make it through all the design iterations. There’s a bunch of references to artworks from the AGO collection too but we’ll cut down on those as we go
Here’s the first set of proposed artwork. The large one is for a curved wall that’s 30’x 9’ and the little ones are for 3 sides of 3 carts that are about 3’ x 2’ x 4.75’


A few things that weren’t working out:
The colour palette was a bit too dark
The day to night transition looks confusing
Not enough texture in the art carts
Characters on the art carts not fitting in
I was also given more things to consider for the carts. They each had a specific purpose and a targeted age group. In summary:
Sensory cart - engage the little kiddies
Drawing and making cart - crafty, all ages
Imaginative learning cart - abstract ideas for slightly older kids
So with these things in mind, I kept the base and themes from the carts but heavily revamped them. I was also thinking about stories and a song** while I designed these. I’ll tell you at the end of this post (look for ** if you want to skip to it) but see if you can guess before we get there!
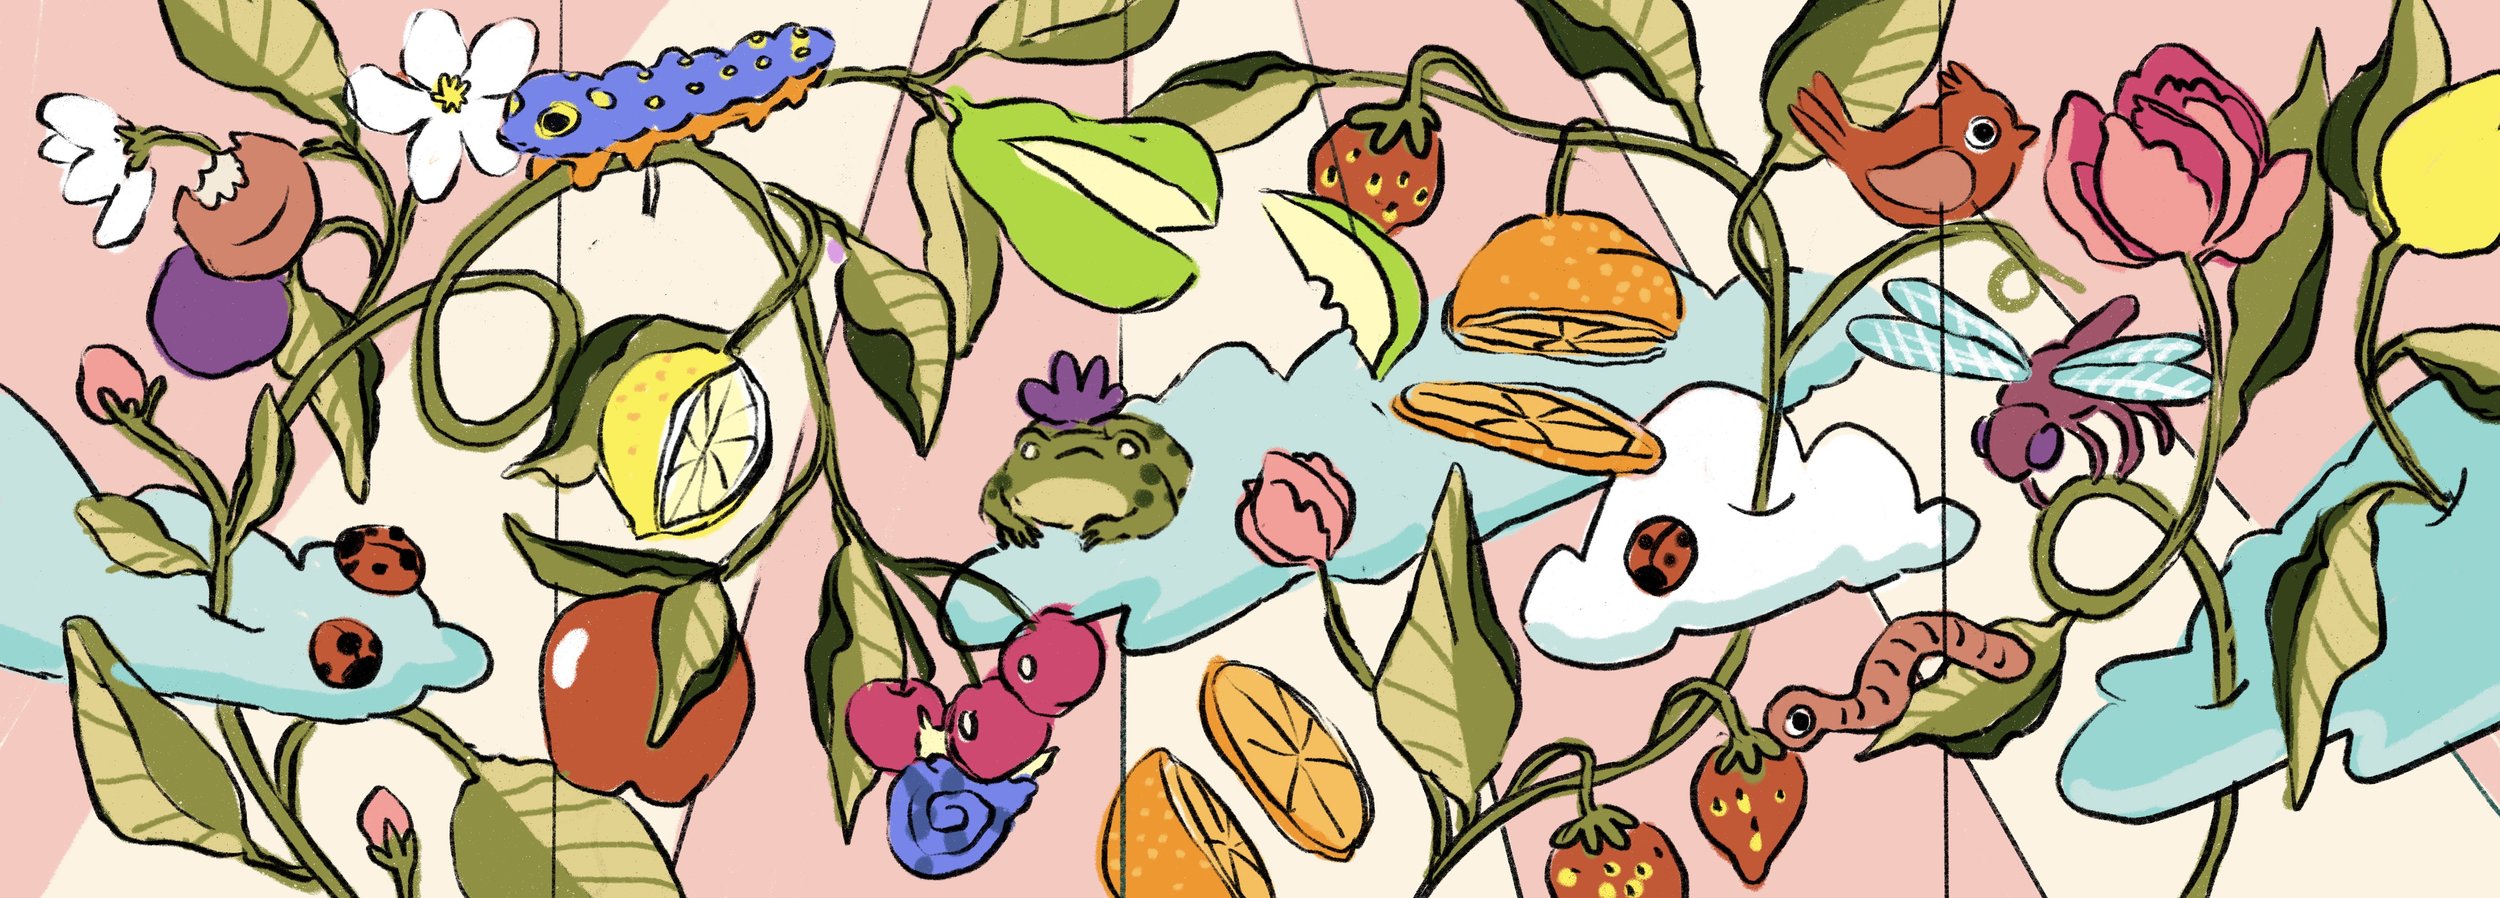
The sensory cart I filled with flora and fauna, fruits and some critters you’d find in the garden. Things that would bring familiar sights and smells to little kids.
The drawing and making cart I chose the water themed cart from the previous set and added origami boats and airplanes, and also more lines and textures to mimic hand-made and decorated crafts. Even though the colours mostly stayed the same for this cart, the new iteration feels a lot more active and lively.
As for the third cart, I went full weird. I added more planets and made them all characters. I tried to make them interact more, so we have the pink one watering the irises on the moon with an elephant watering can, we have that little yellow one encircling another planet with its arms
Not too much changed on the wall though. I lightened and brightened the colour palette, made the background a bit more cohesive and incorporated elements from the new cart designs


These art cart designs got approved, yay! The wall however, is now feeling lackluster in comparison so now it’s time to tackle the big wall (hopefully only) one more time!
Some things for me to keep in mind:
More interactions between the characters, even though there’s so many of them they feel a bit distant
Pull the viewer into the scene more
Cohesion cohesion cohesion
Use the turquoise colour as the background colour
I had gotten attached to the design, even though I was having trouble with it and so… it was time to be ruthless and throw it all away! ψ( ` ∇ ´ )ψ
I went back to the drawing board with pencil and paper:

Elements from the art carts were integrated back into the wall so all parts of this project are cohesive. I decided to continue the space party happening on one of the carts onto this wall, and include the other two cart themes as the largest planets in the scene. The pencil sketch was even looser this time. The rest was drawn digitally with bits collaged in from the previous mockup.
The AGO team suggested we use the blue as the background so I ran with that and kept the sunrays monochromatic so that foreground elements would pop. I tried to include more points of entry for the viewer and more character interactions. For example, the purple carrot planet feeding the surfing rabbit, two children splitting a strawberry, one planet giving another one a tight hug etc. The number of references and characters was reduced but overall it felt more cohesive

Success! It feels a lot more fun and organic. The AGO team loved it and gave me the green light, so off to painting we gooooo!
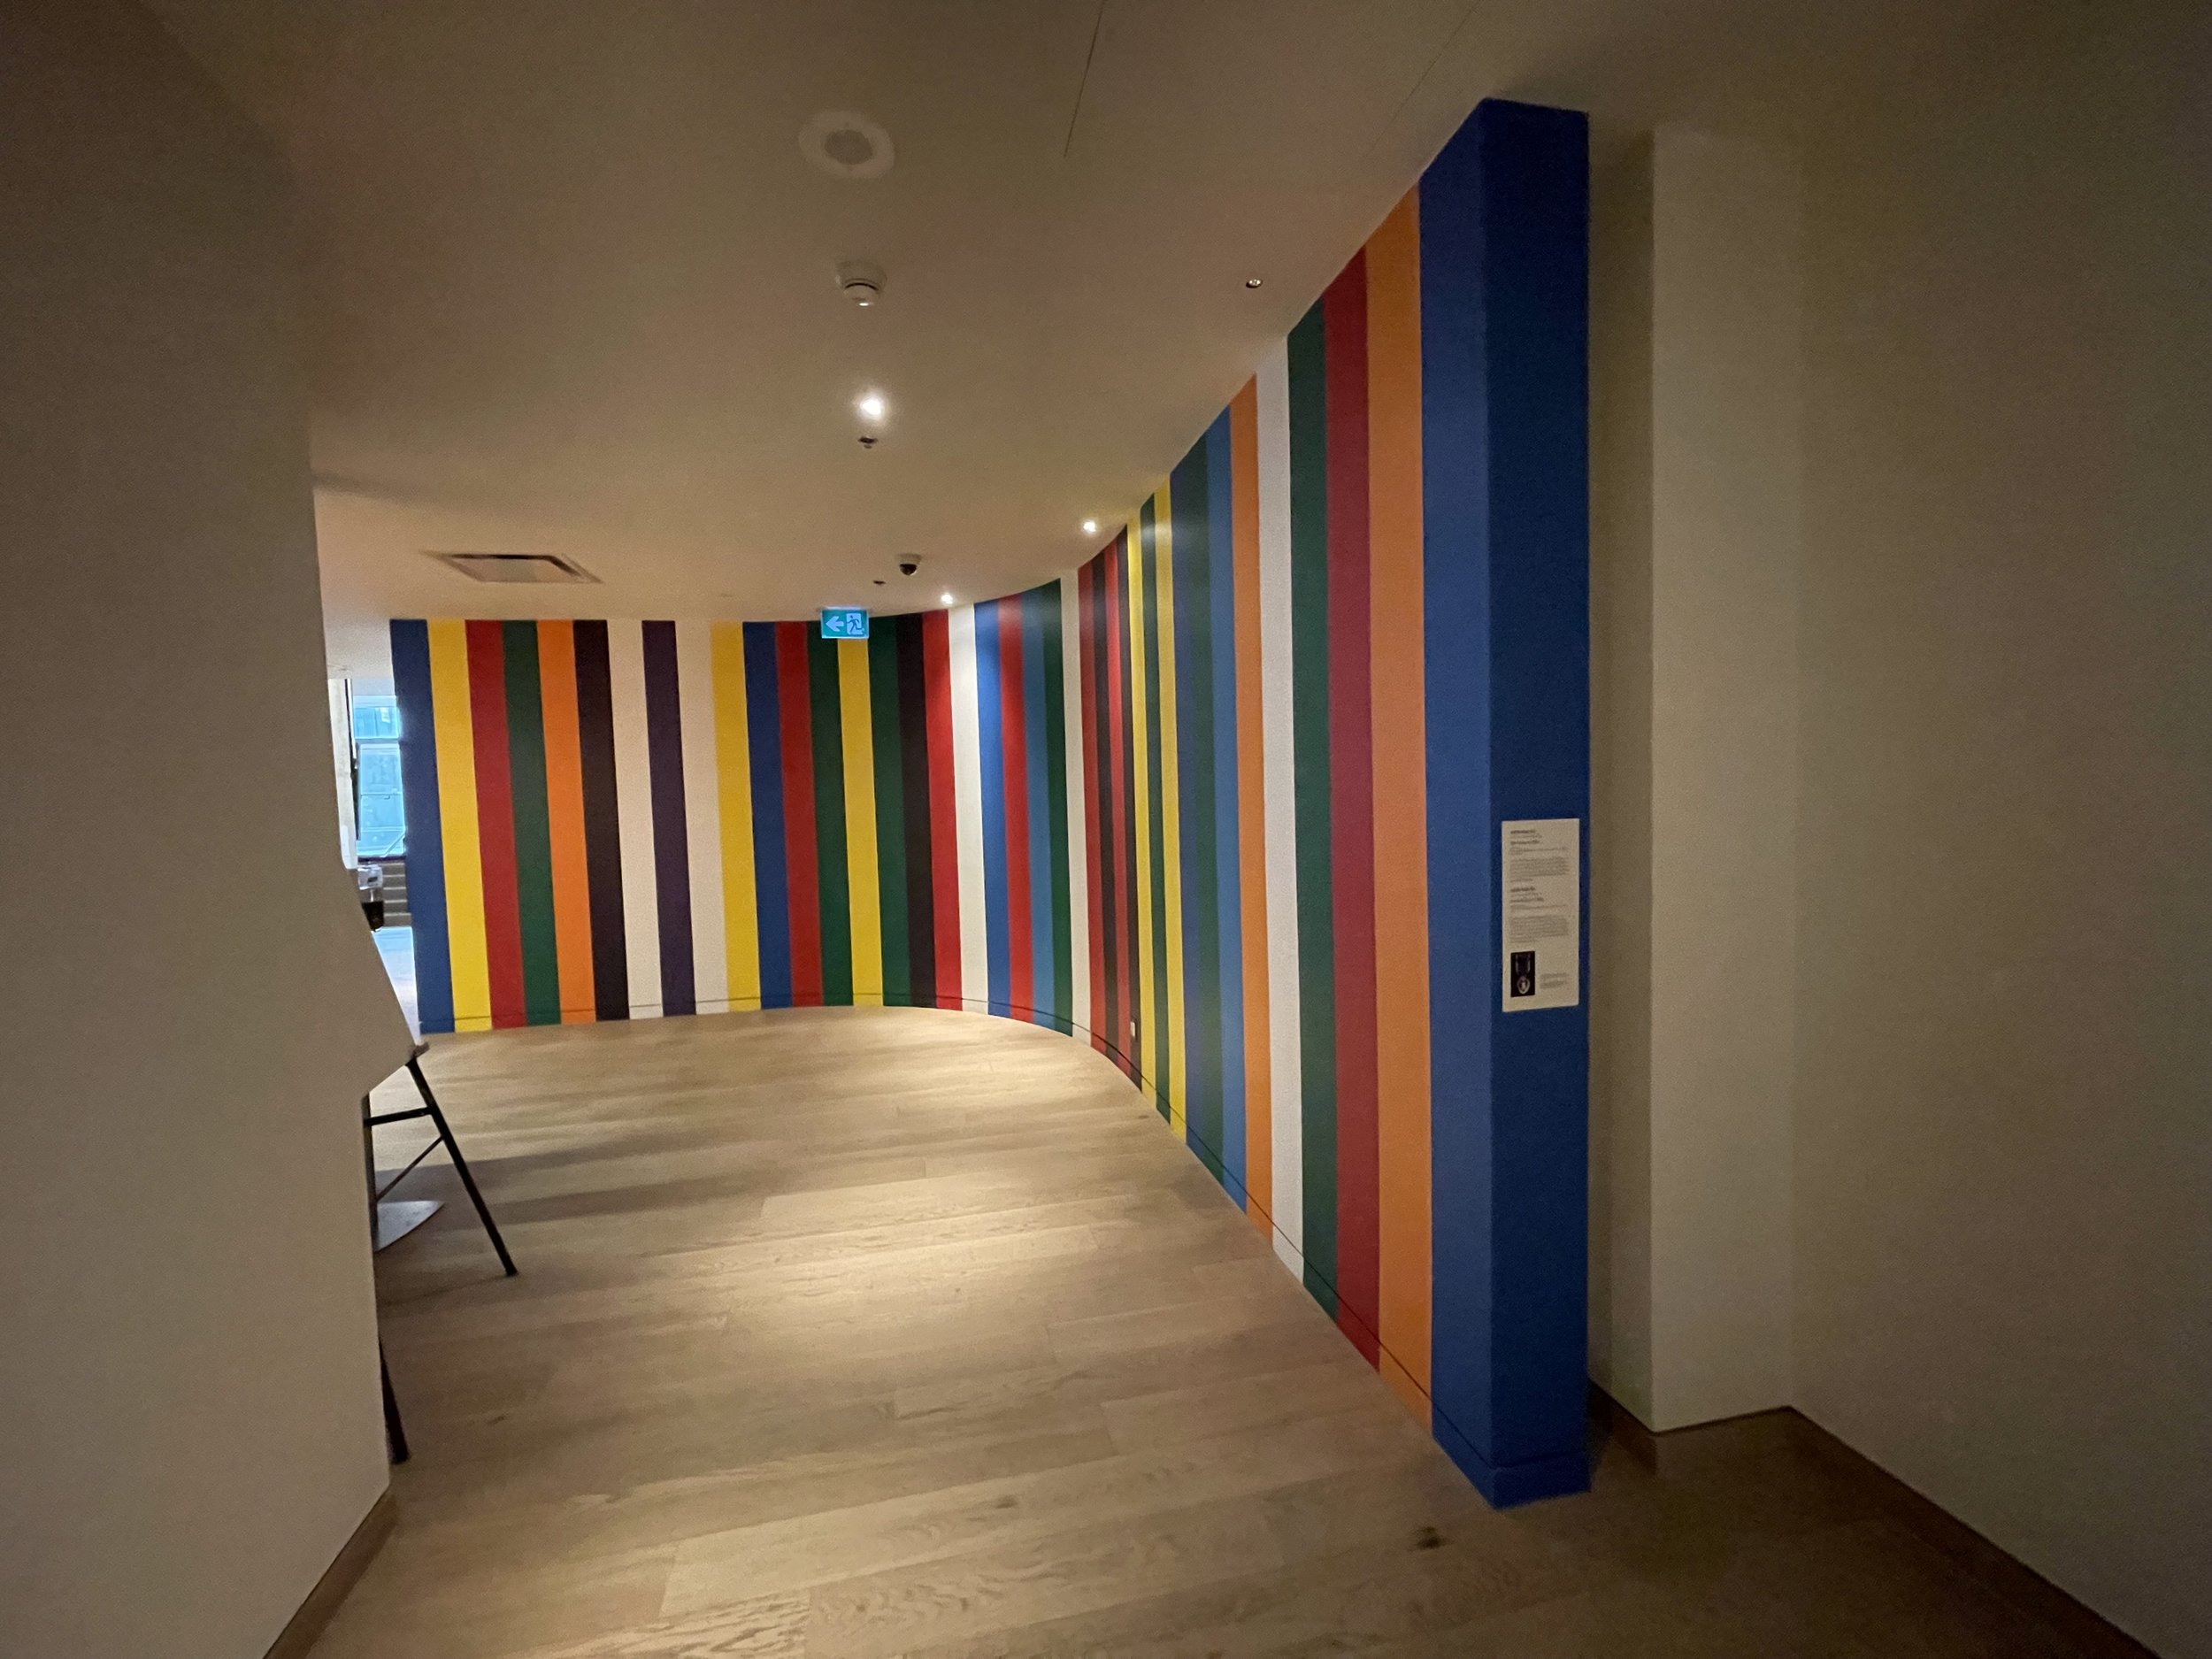
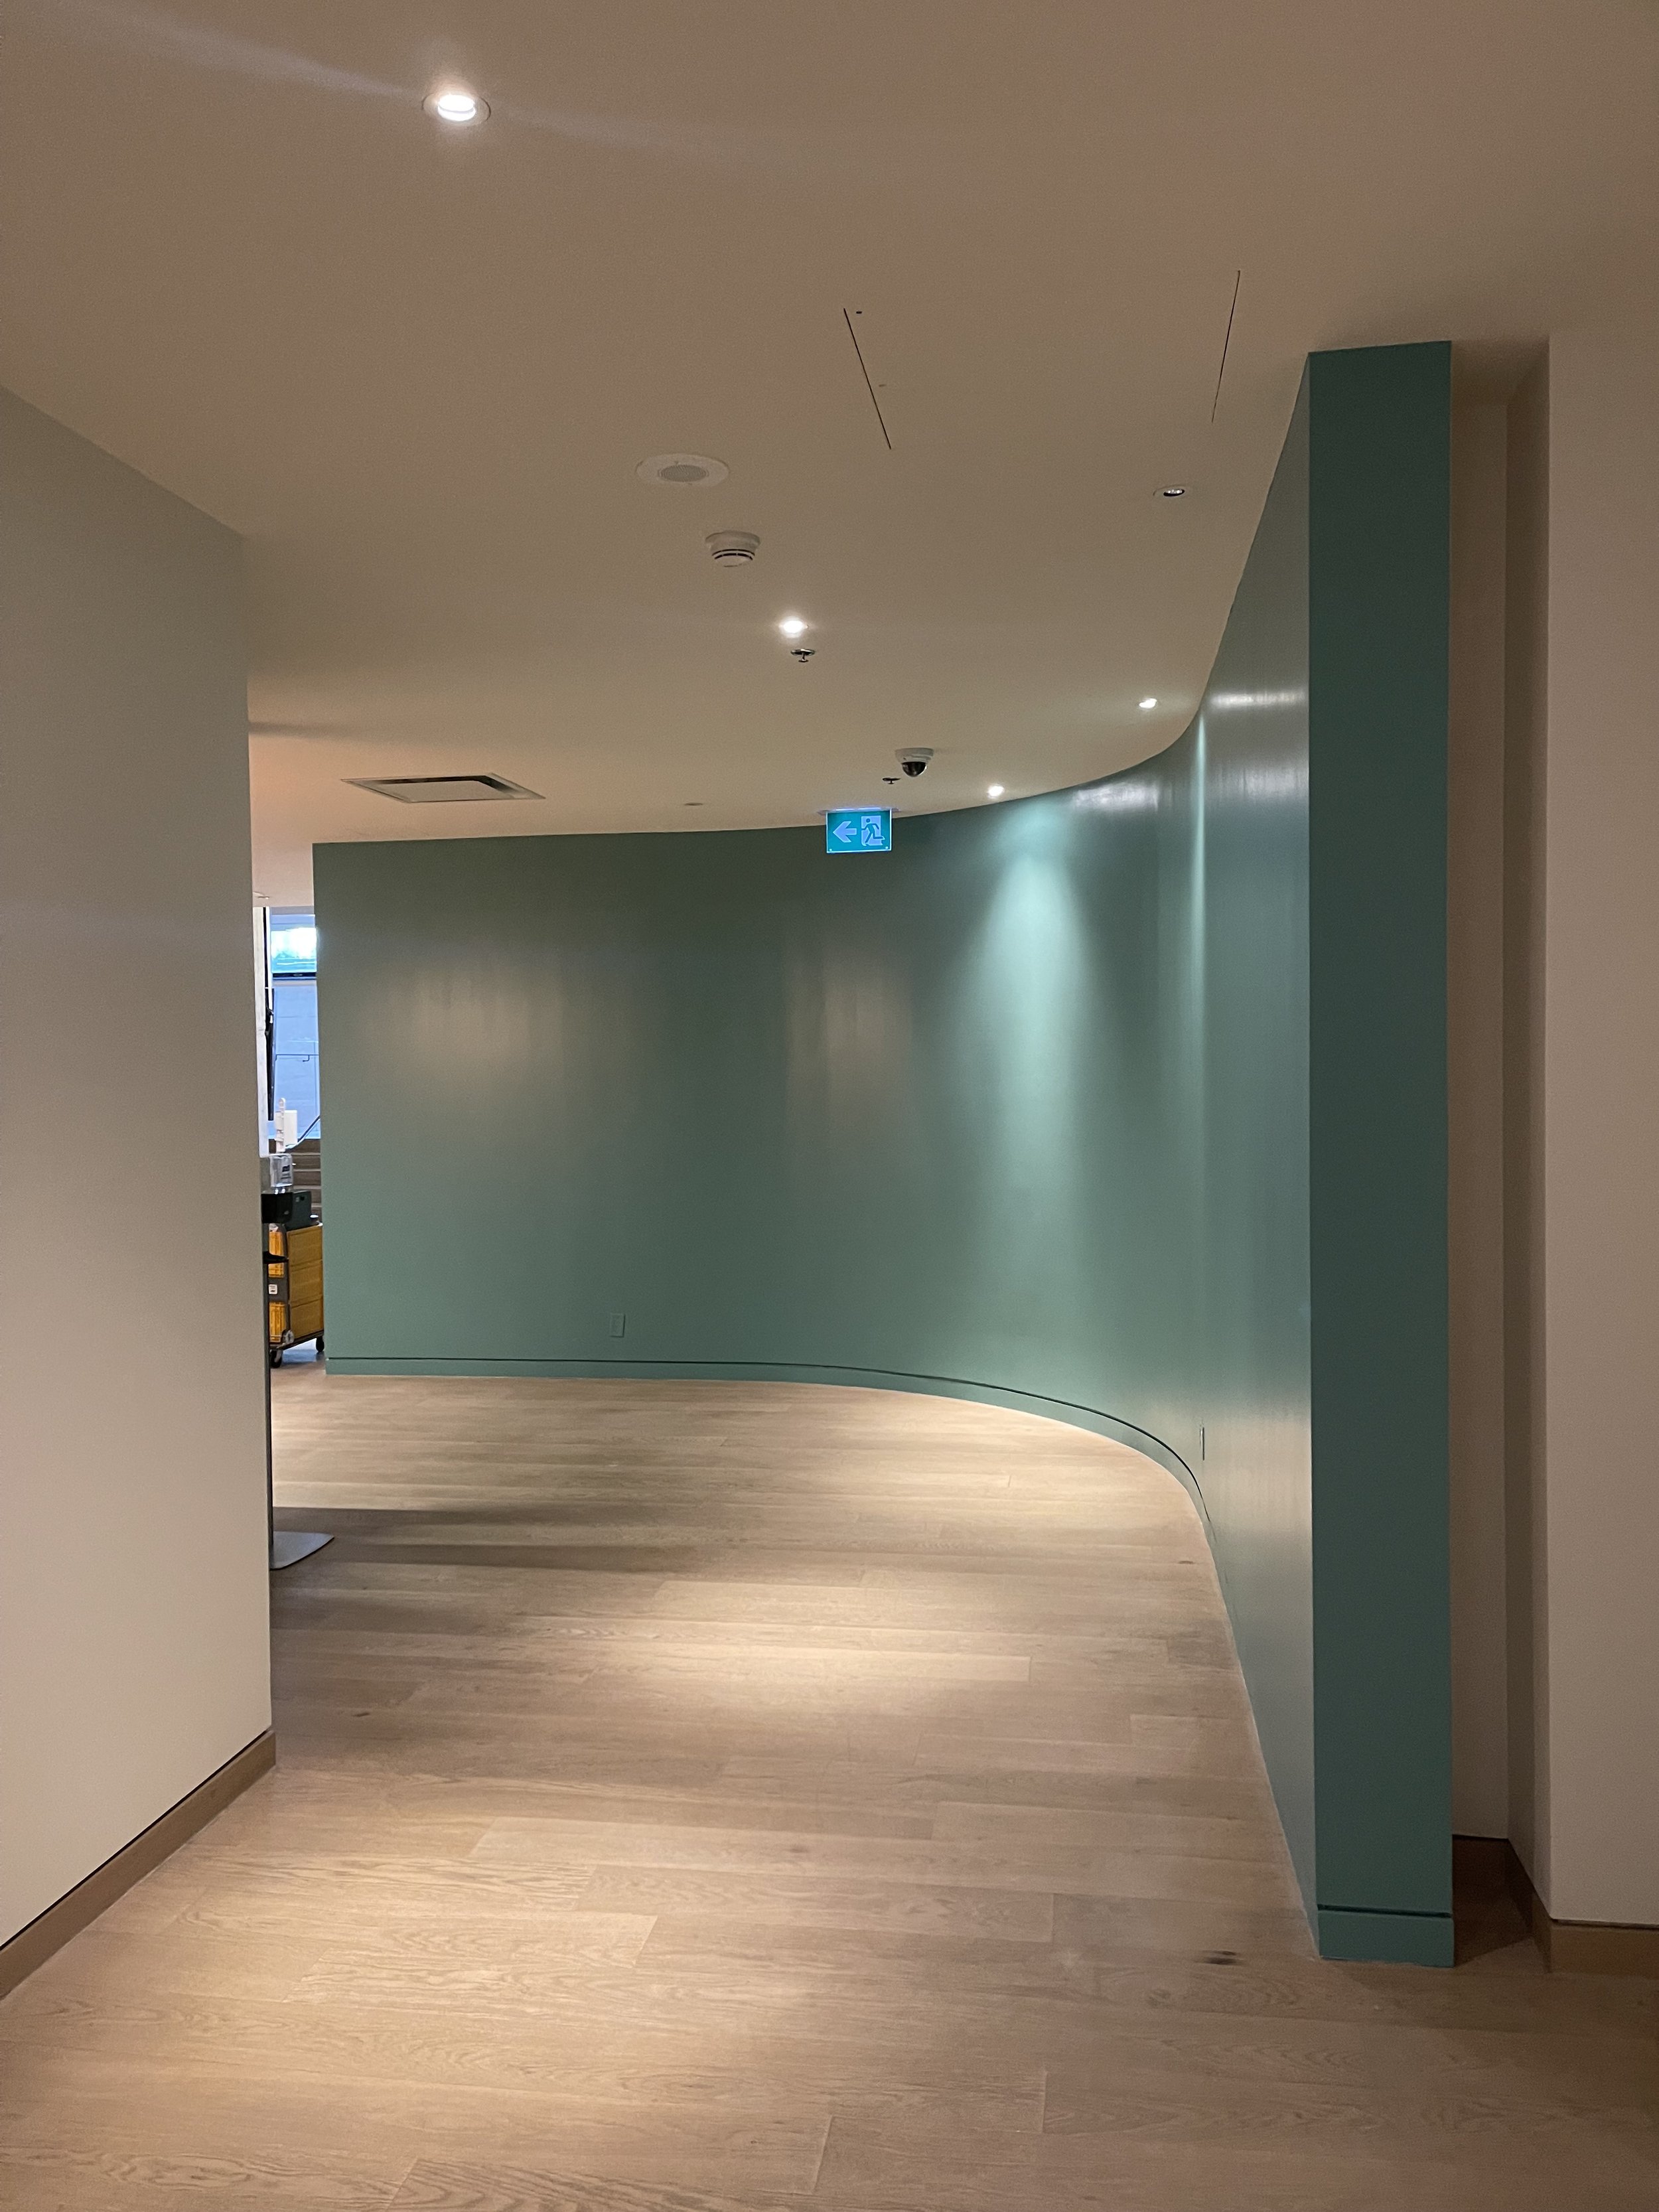
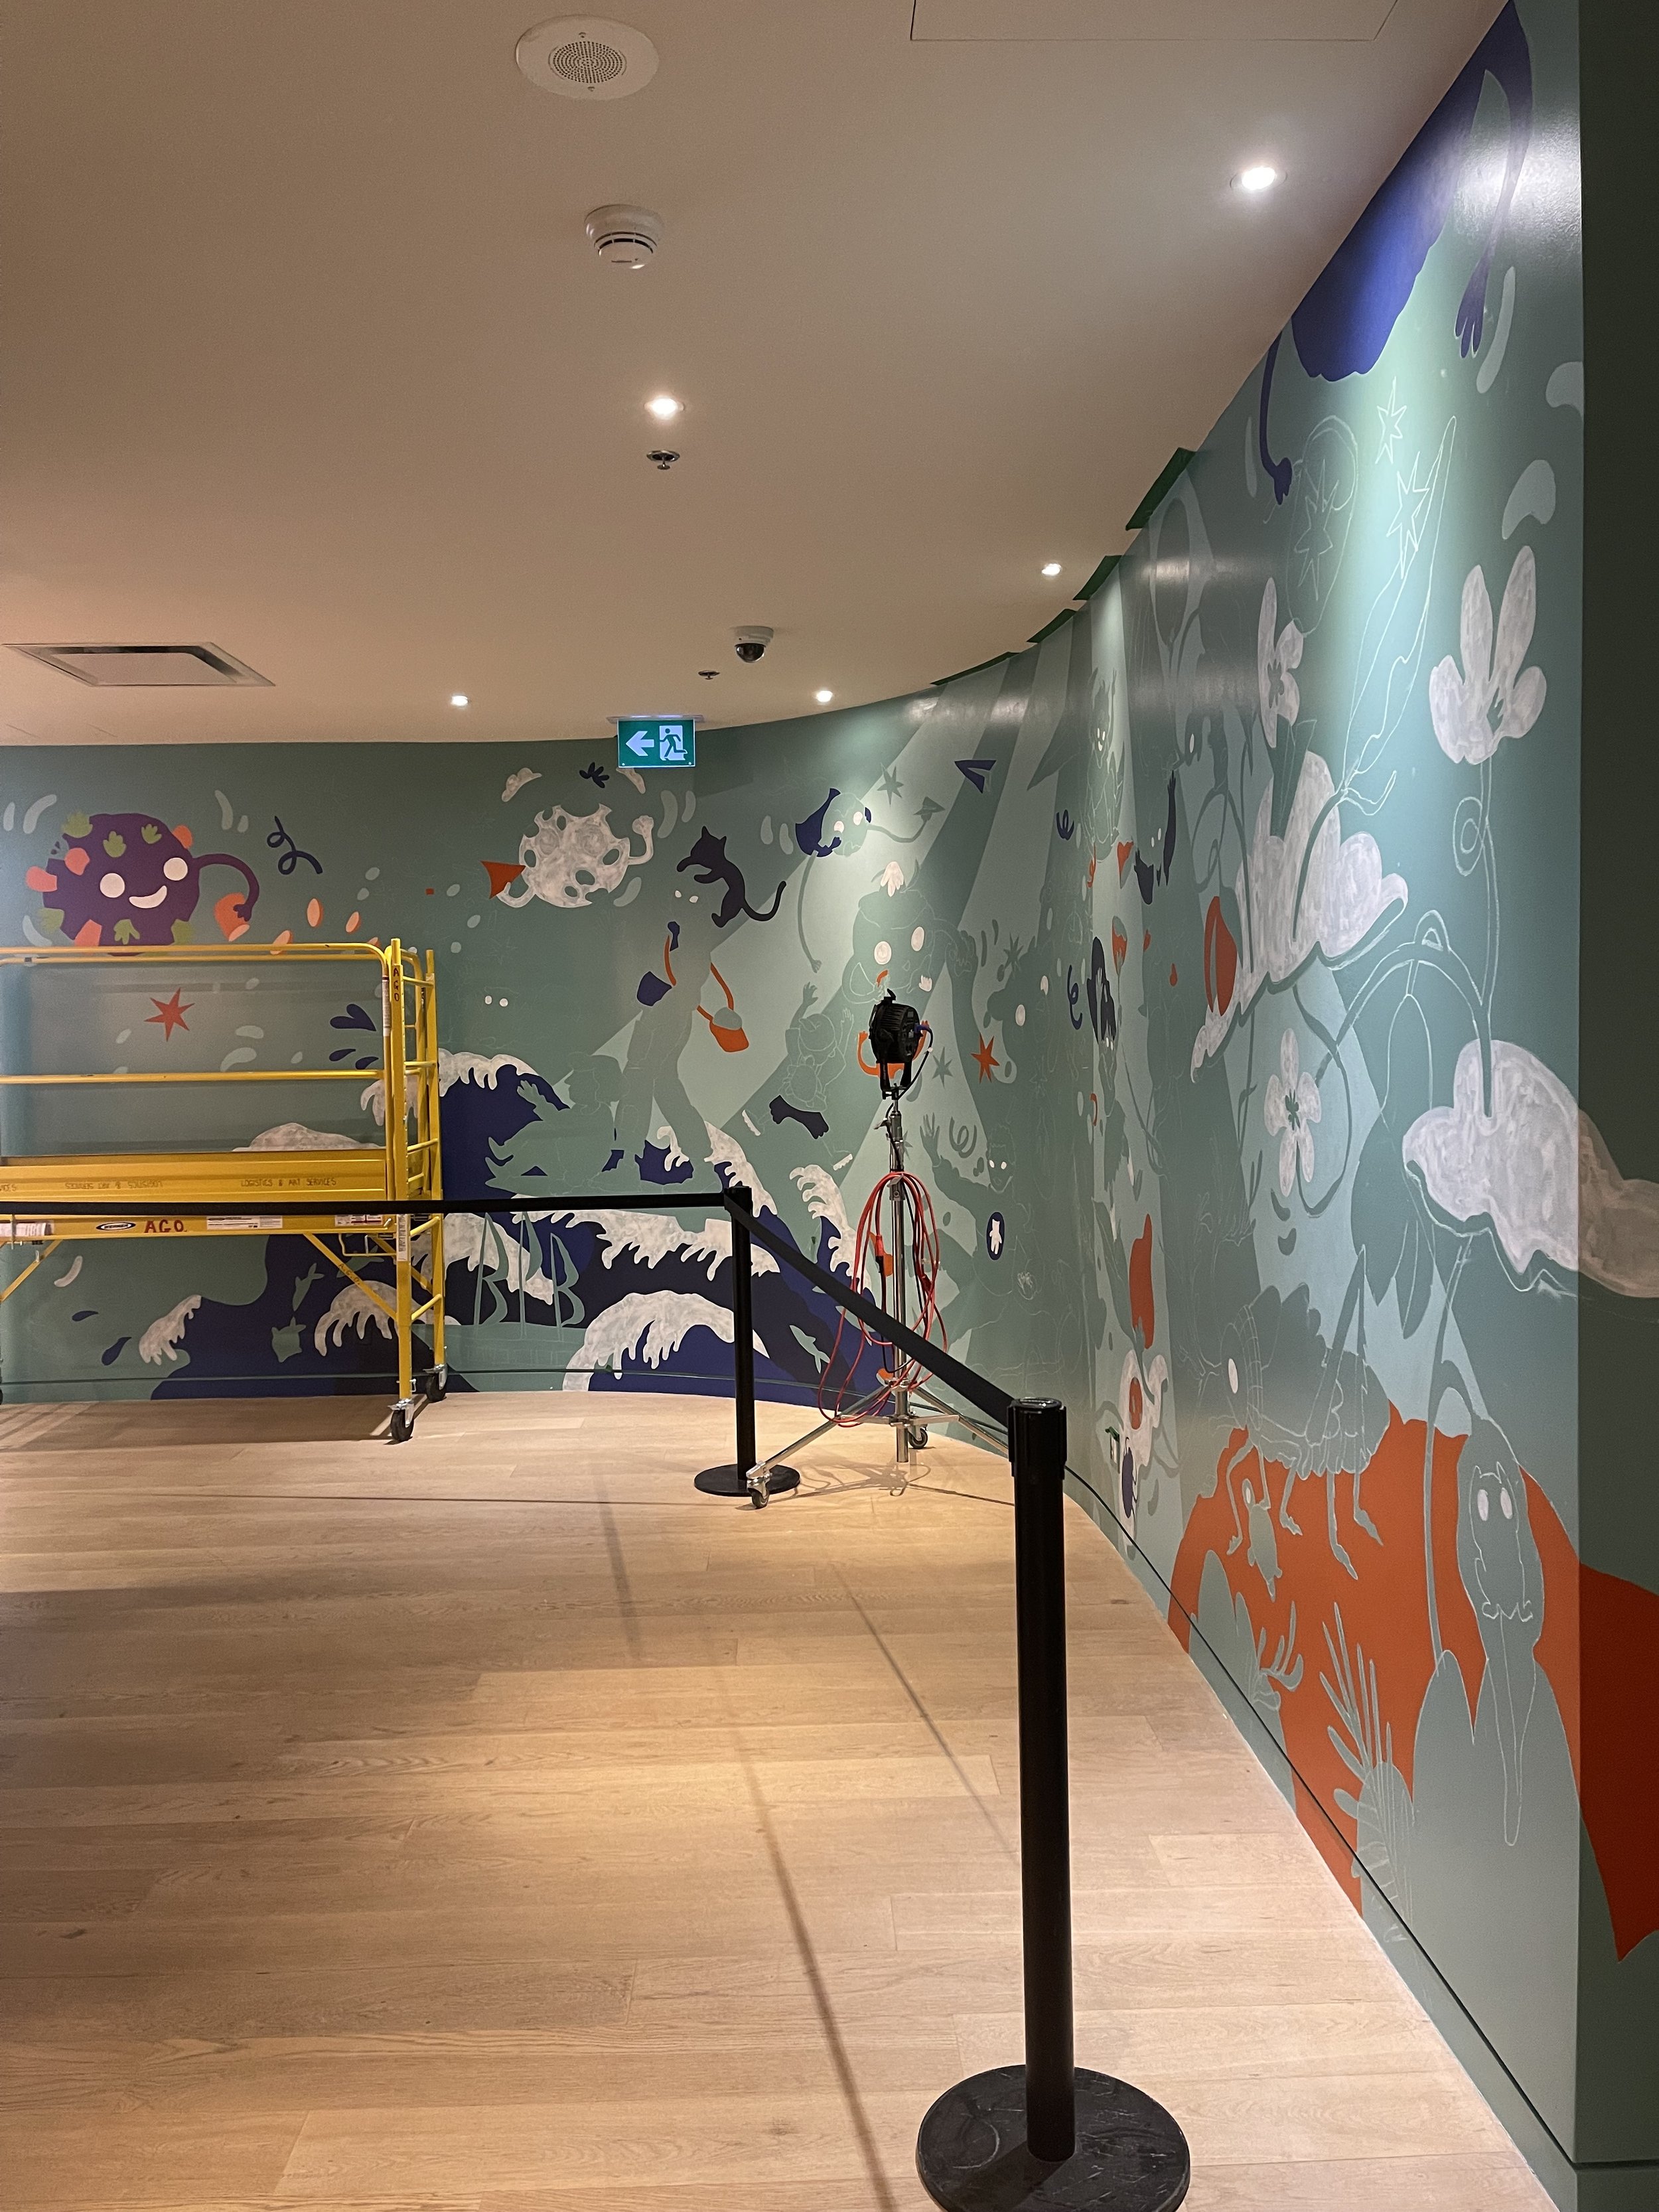
I forgot to mention, the artwork that was getting painted over lived on that wall for a really long time! Over ten years if I remember correctly, so I was quite nervous to be taking over. Here are the before pictures of the space:

TRANSFERRING THE DESIGN
For the wall, I thought about it for some time and couldn’t decide how to sketch it out!
I felt like it was too intricate for me to freehand it efficiently, I didn’t want to spend a lot of time fiddling with it to get the positioning of so many elements just right
Another option is a grid, but I always felt like grids were too tedious. Especially since I like the organic, slightly wobbly look. Not to mention I haven’t mastered the art of gridding things without messing up the numbers or having my grids be warped. (Intentionally warped grids would be something I would like to experiment with though). Also, because the wall was curved it made things more difficult to measure and mark accurately
Doodle grid? But how would I be able to take photos of the wall and superimpose by design over it when it’s curved and warped?
Stencils? I could make stencils of the elements before hand, but then scaling those properly would still require crunching some numbers
Projection is the quick and easy way, but because the wall is so large, curved, and goes around a corner, it would be difficult to do. Getting enough distance from the wall, working around obstacles, accounting for the warp were all problems.
In the end, I decided a combination of a (very loose) grid and projection would be my best bet for time and ease. I brought string, rolled it along the length of the wall on the floor and cut it to size. Then I folded the string in half and laid it back along the wall, marking the middle of the wall. I folded the string in half again and laid it back down to mark the 1/4 and 3/4 points on the wall. At this point it looked like manageable widths so I stopped.
Next was the vertical. I taped a string to the ceiling, let it hang and cut it where it touched the floor. I folded this string in half and cut it. Then I just let the cut string hang from the ceiling along different parts of the wall to mark the halfway point. Now, the wall was divided into 8 equal sections (with no measuring tape and numbers involved!)

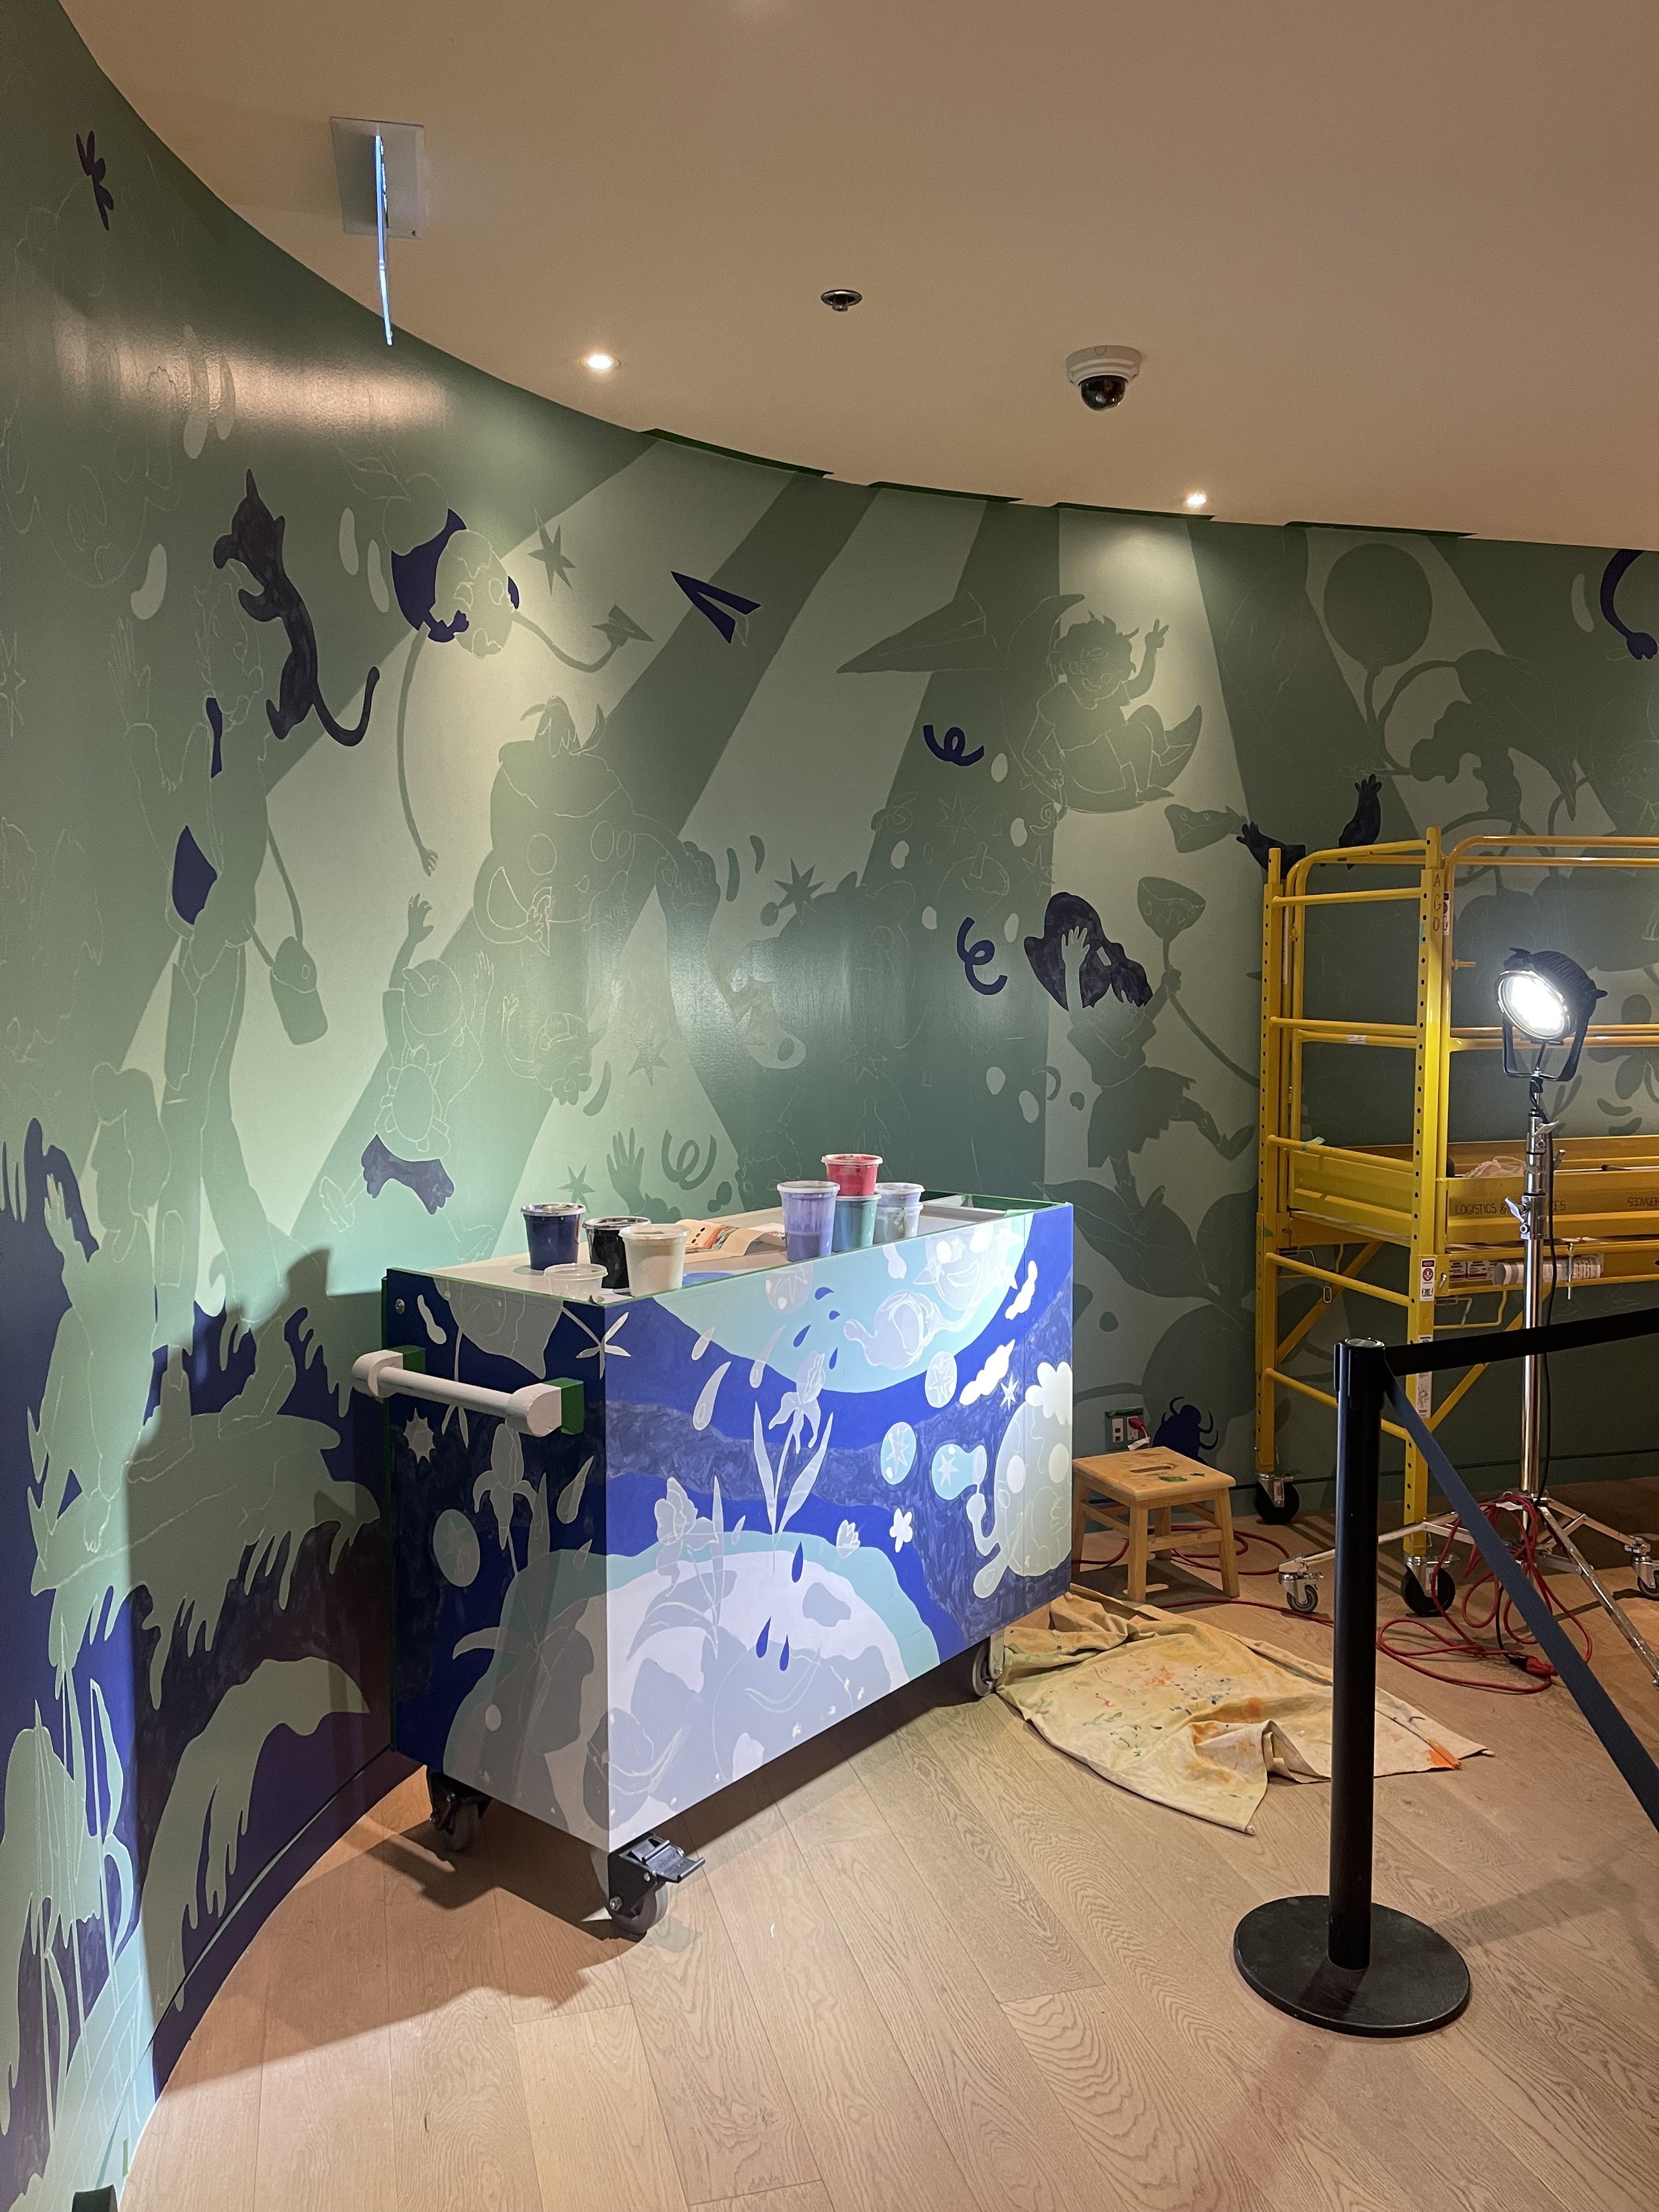
I divided my digital sketch into 8 equal sections on the computer to match. Now, one section is projected at a time, using my marks to make sure both grids were lined up. I traced the design and if the projection was getting warped, usually around the edges of the section, Optimus would be readjusted using my traced lines as a guide. At that point, I had a smaller section of the wall to look at, and a good portion of it traced already so manual adjustments could be made without worrying that the rest of the wall would be affected too.
INSTALLATION
Now, all I had to do is fill it in bit by bit. The design ended up a bit more complicated than I anticipated and it look a surprising amount of layers to get the paint opaque on this wall but we got there in the end!
Painting the art carts went very smoothly, they were an easy enough size to handle and I got faster as I went so the first the one took probably 6-7 days and the last one took about 3 days. I used Optimus (my projector) to speed things up and transfer the designs onto the sensory and boat carts but the space one I just freehanded since it was mostly a few wavy lines and lumpy circles
Anyway, if you want to watch a relaxing video of the illustration and painting process in superspeed, here you go :)
A few in-progress shots:

OVERHEARD AT THE AGO
The corner I was painting in is where everyone passes through to get to their workshops and classes, school groups and families hang around here too so I had a lot of people and curious kiddies watching and asking questions. Here are some of the funny and endearing conversations I heard/had:
[Wisdom from a kid that spent a day at the AGO and walked past the wall a few times]
Kid: You’re still painting that
Me: Yeah
Kid: I mean, art does take a long time
[Imagine a tiny squeaky voice saying this very seriously]
Kid: Looks like you’re doing a real good job
[This little one attended workshops for a week or so at the AGO]
Kid: She paints a new one every day!
Parent: I think she continues the same one 😅
[A group of kiddies were asking about the mural and I showed them my designs]
Kid: It’s pretty like you!
Kid B: Yeah! You’re pretty!
Note: I had a face mask on, so they couldn’t even see me much but it was very sweet 😭
Some spot on observations by little artists! These observations were made when the mural was still in it’s early stages or looking quite rough. I was impressed that they made the connections and pointed out things that I thought about during the design. It made me feel like I did something successfully if they understood
[I got asked by several adults what some characters were meant to be but I also heard a kid excitedly ask their parent]
Kid: Is that the solar system?!?
[From a conversation with two kids]
Kid A: This (pointing at the wall) looks like you’re copying that (pointing at an already painted art cart sitting nearby)
Me: That’s right! I painted that too. It goes together :)
Kid A: Ohhh!!
Kid B: This (points at planet with the waves) looks like that Japanese artist
Me: Mmmm, Hokusai?
Kid B: Yeah!
Me: You’re right! I was inspired by his waves
Kid B: :)))))
Of course I had good conversations with adults too but the warm fuzzies aren’t quite the same (^• ω •^)
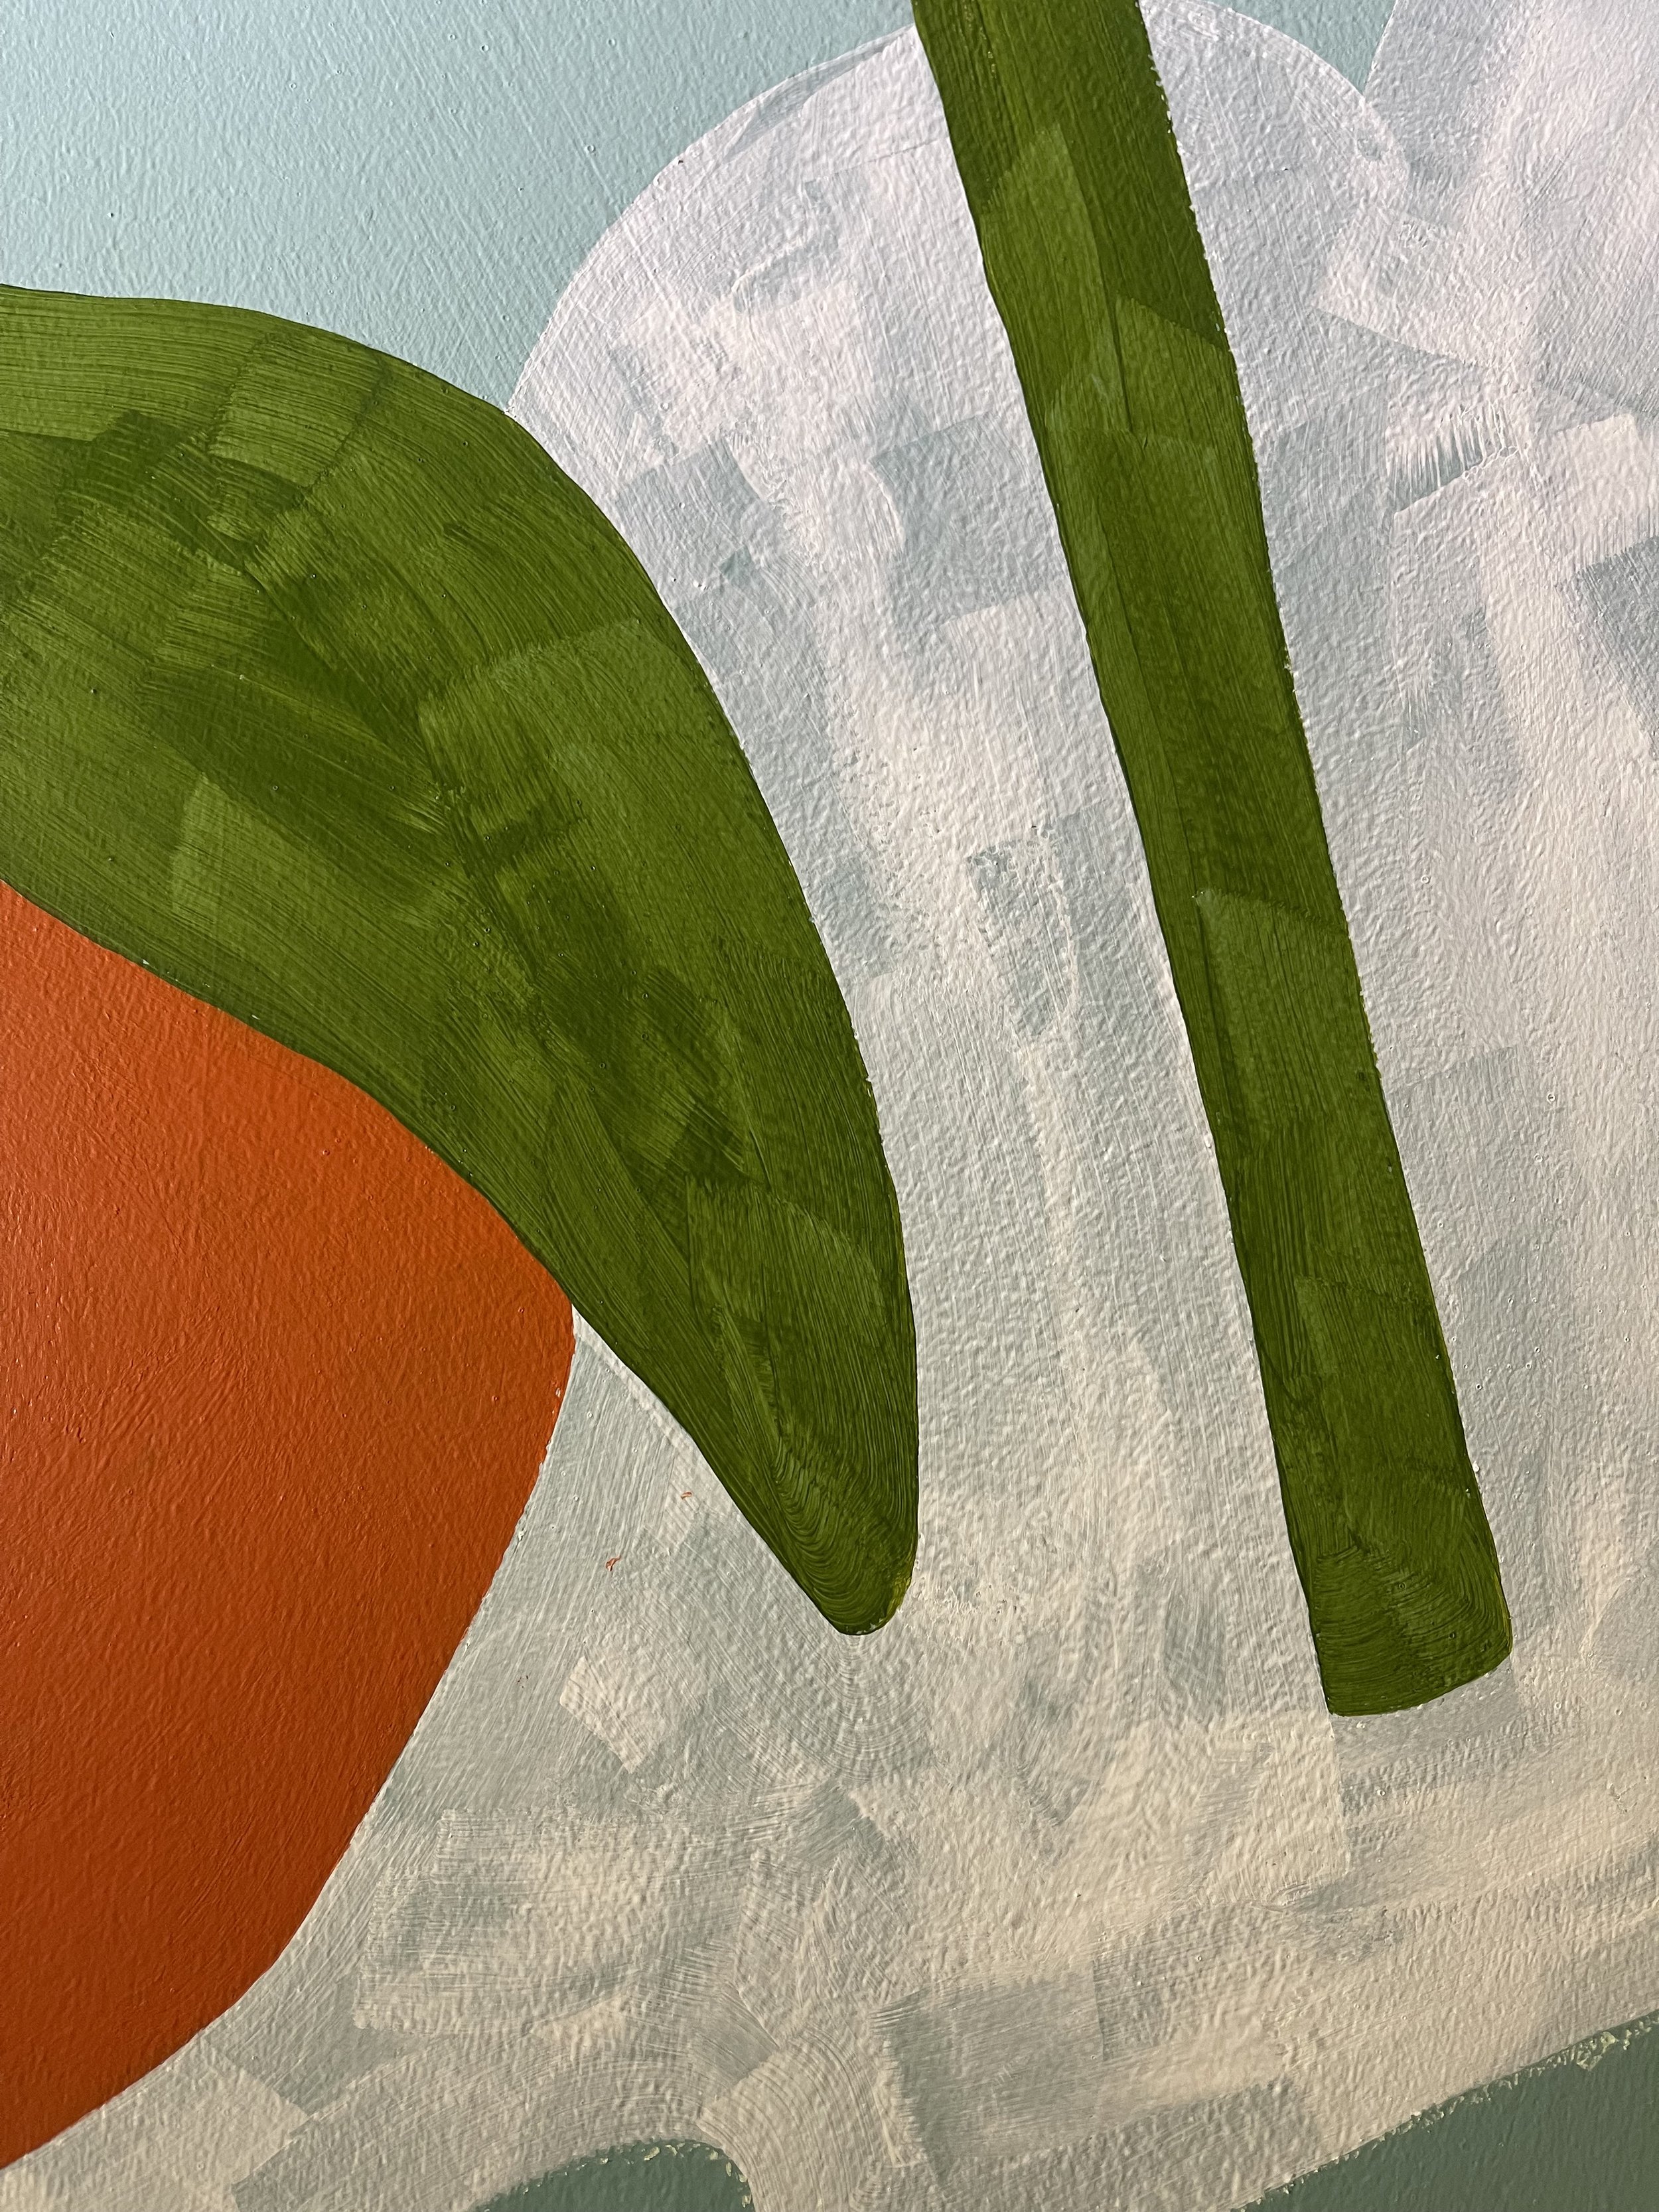
FINISHED PROJECT
And here are a few of the finished mural shots!! My personal favourite bit of the mural is definitely the cricket 🦗
**Oh yes, I nearly forgot to tell you the story/song references for the art carts. I tried to put the references in the titles! I debated on different names for the art carts, but settled on one word names like the ones given to rovers sent out on space missions (like Spirit and Curiosity who went to Mars)
🌌 To Infinity and Beyond (A quote from Toy Story’s Buzz Lightyear because of the space themes of course!)

🚀 Rocket (The irises on the moon are a reference to AGO’s Iris bleus, jardin du Petit Gennevilliers but also Le Petit Prince and his rose on asteroid B612)

🌊 Marina (Because of the water and the boats, but also I was thinking of the song “Down by the Bay,” that we used to sing a lot in elementary school)

🐸 Bean (As in Jack and the Beanstalk. But also because I love that frog in the middle, and there’s frogs out there that really look like soft jelly beans)

See if you can spot the following references to artworks from the AGO collection in my murals:

1. The Wisdom of the Universe by Christi Belcourt | 2. Spirit Bear Possessing a Man’s Soul by David Ruben Piqtouken | 3. French or British warship, prisoner of War model c.1795-1815 | 4. Iris bleus, jardin du Petit Gennevilliers by Gustave Caillebotte | 5. Lake Superior by Lawren S. Harris | 6. Chinese Snuff Bottle, with enameled cricket
There’s proper signage that will go up with my name and bio (and birthdate! that makes it feel so official 😳), as well as the artwork details and a find-it activity. Signage for the wall, on and accompanying the art carts too. Here’s a behind the scenes peek at some adorable signs that have vectorized versions of the characters from the wall.

YOU’VE MADE IT TO THE END OF THE BLOG
I’m still a bit flabbergasted that this project is real! I created something for the AGO and it’ll be there for potentially 2-5 years! If you’re visiting the AGO, please swing by the wall. If you ever send me photos of you or your pet with my murals, know that it makes my day and I definitely save it to smile at later.
It was very neat to see a bit of the behind-the-scenes of what it takes to make something like this happen at the AGO. Everyone I met was very kind and helpful and I’ll miss being there everyday. I don’t want to call anyone out or write a massive list but a HUGE thank you to everyone involved for trusting me with this and for all the support 🥰❤️
I hope that To Infinity and Beyond (and it’s art cart rover friends) bring joy and adventure to visitors for years to come (♡˙︶˙♡)

View the project page with the official blurb here, more updates will be coming in the next little while as I document the wall with it’s finished sealant/signage. For semi-regular updates of works in progress see my instagram here. Please feel free to share any thoughts or questions you have with me!
Thanks so much for reading ♡ (´。• ᵕ •。`) ♡
🐣🐤 Linh