
coming soon - June 12, 2026
November 9, 2025
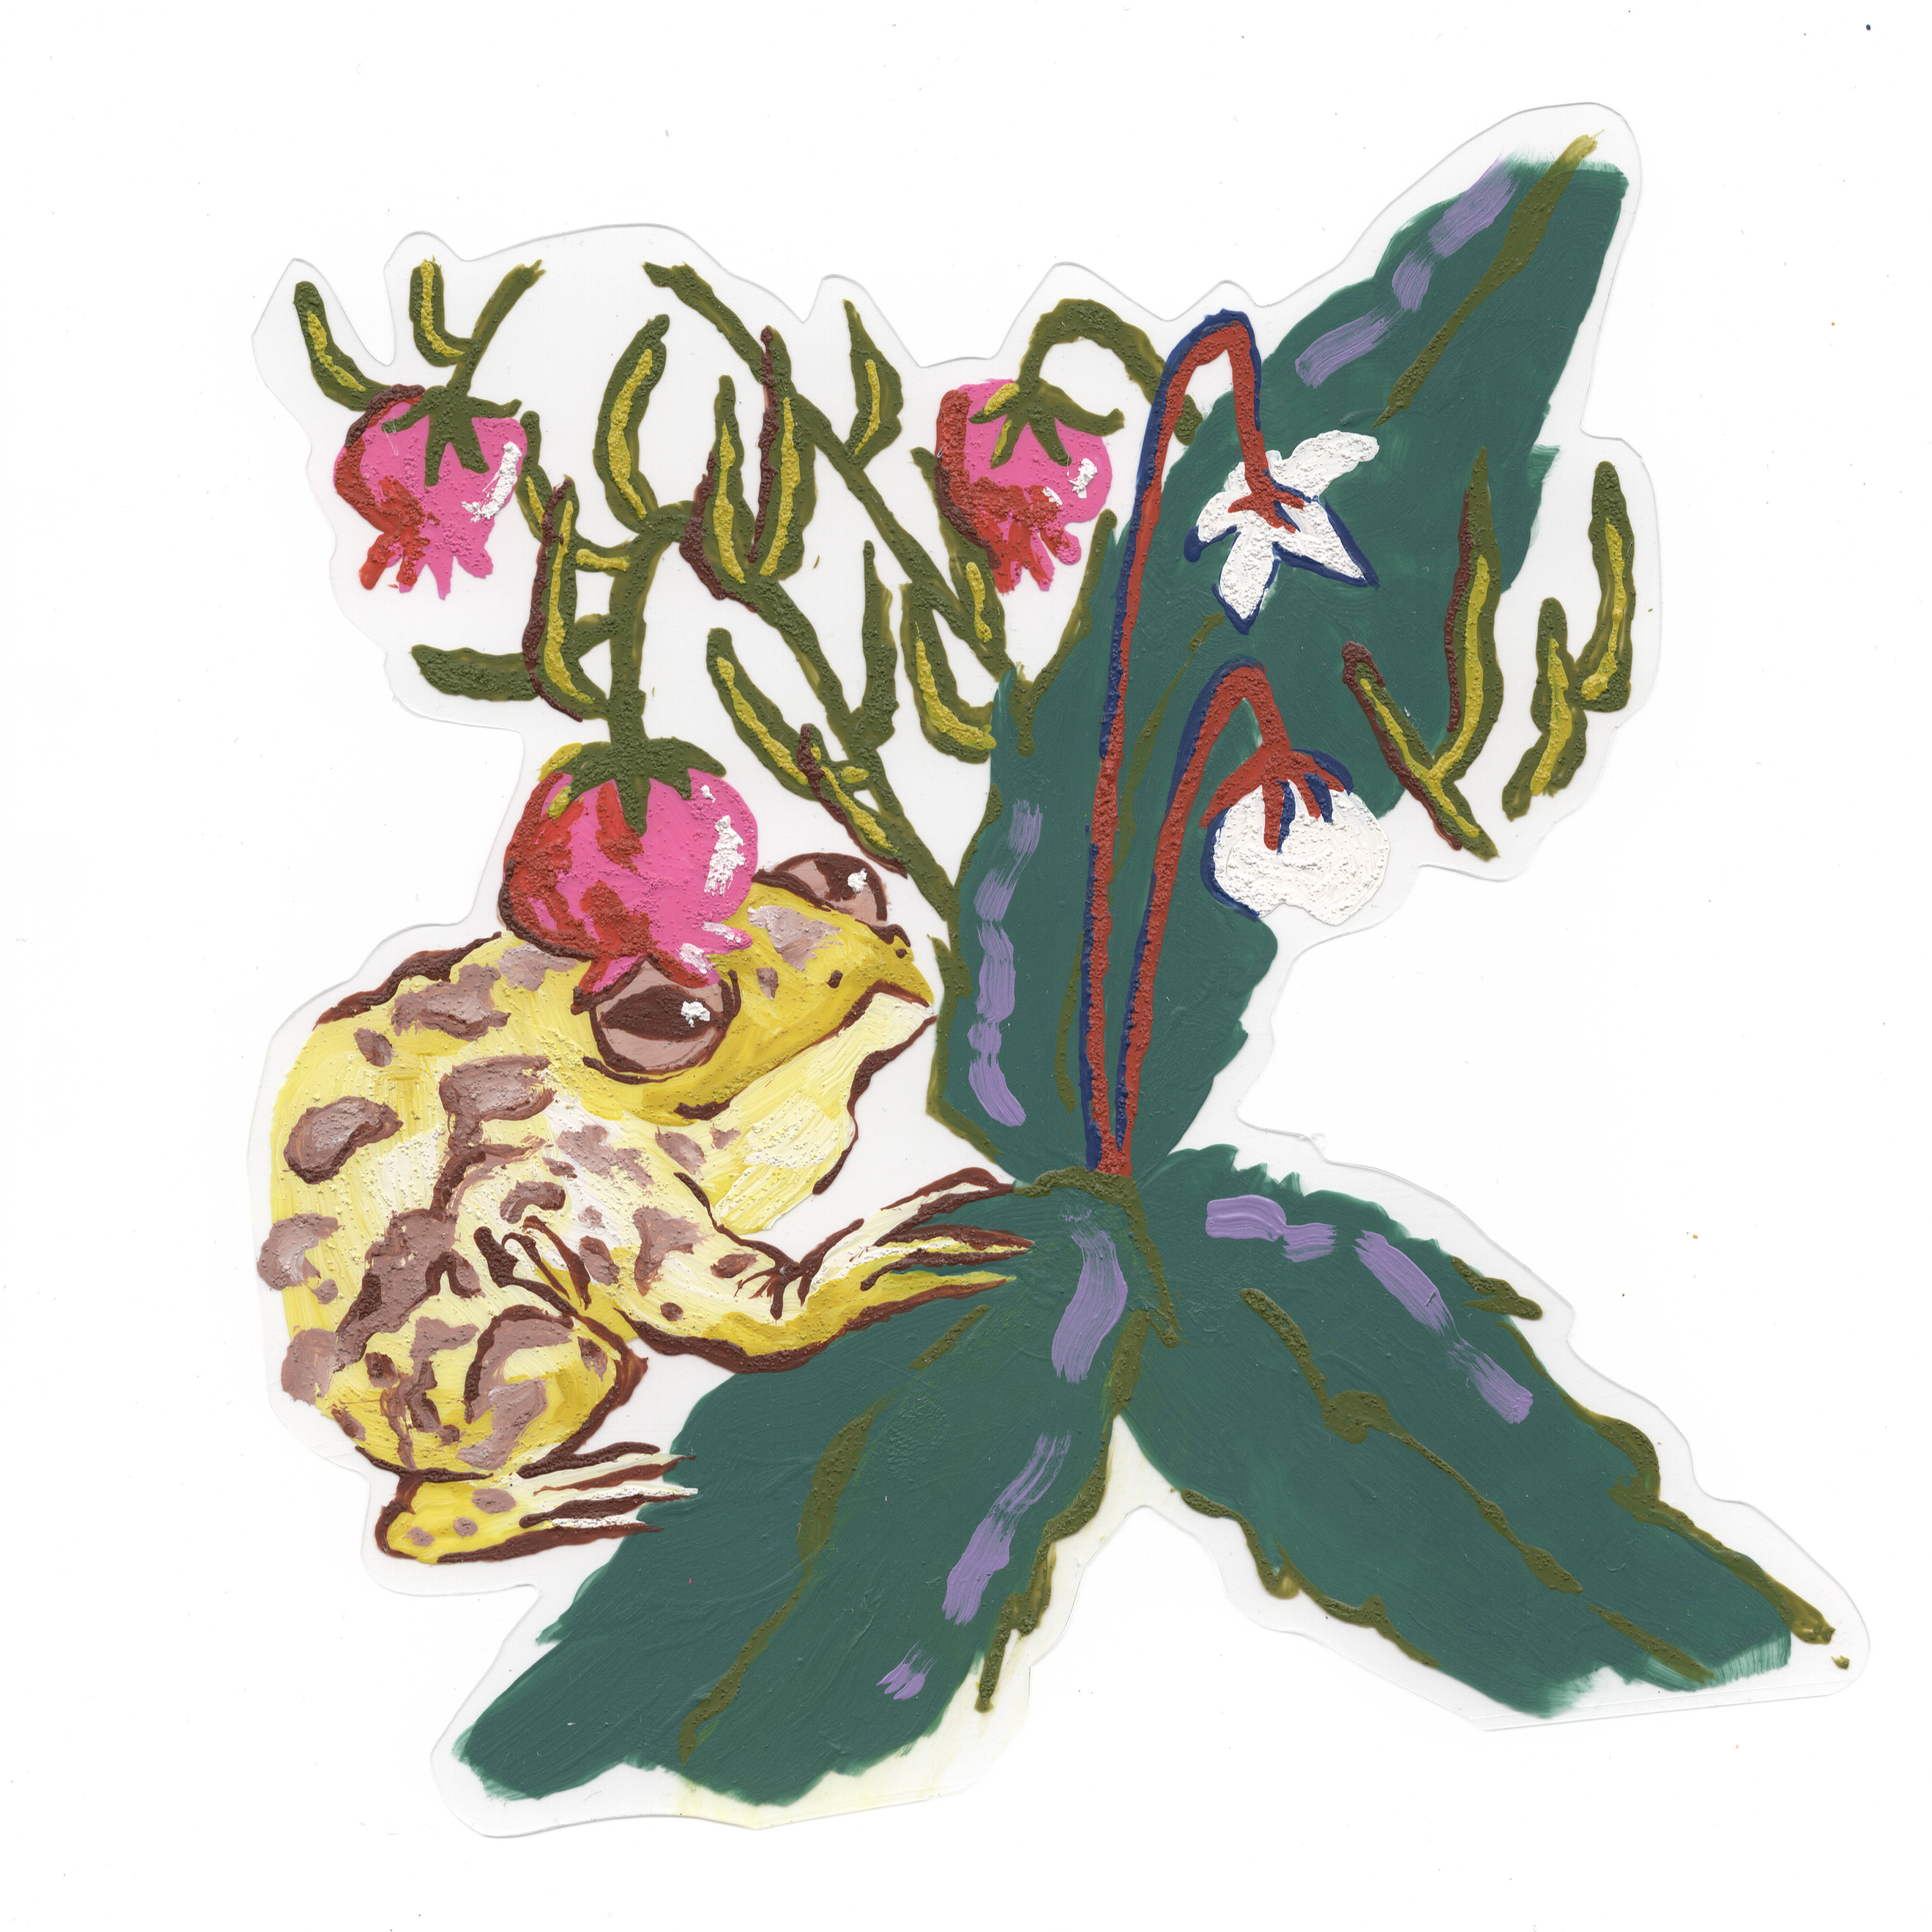
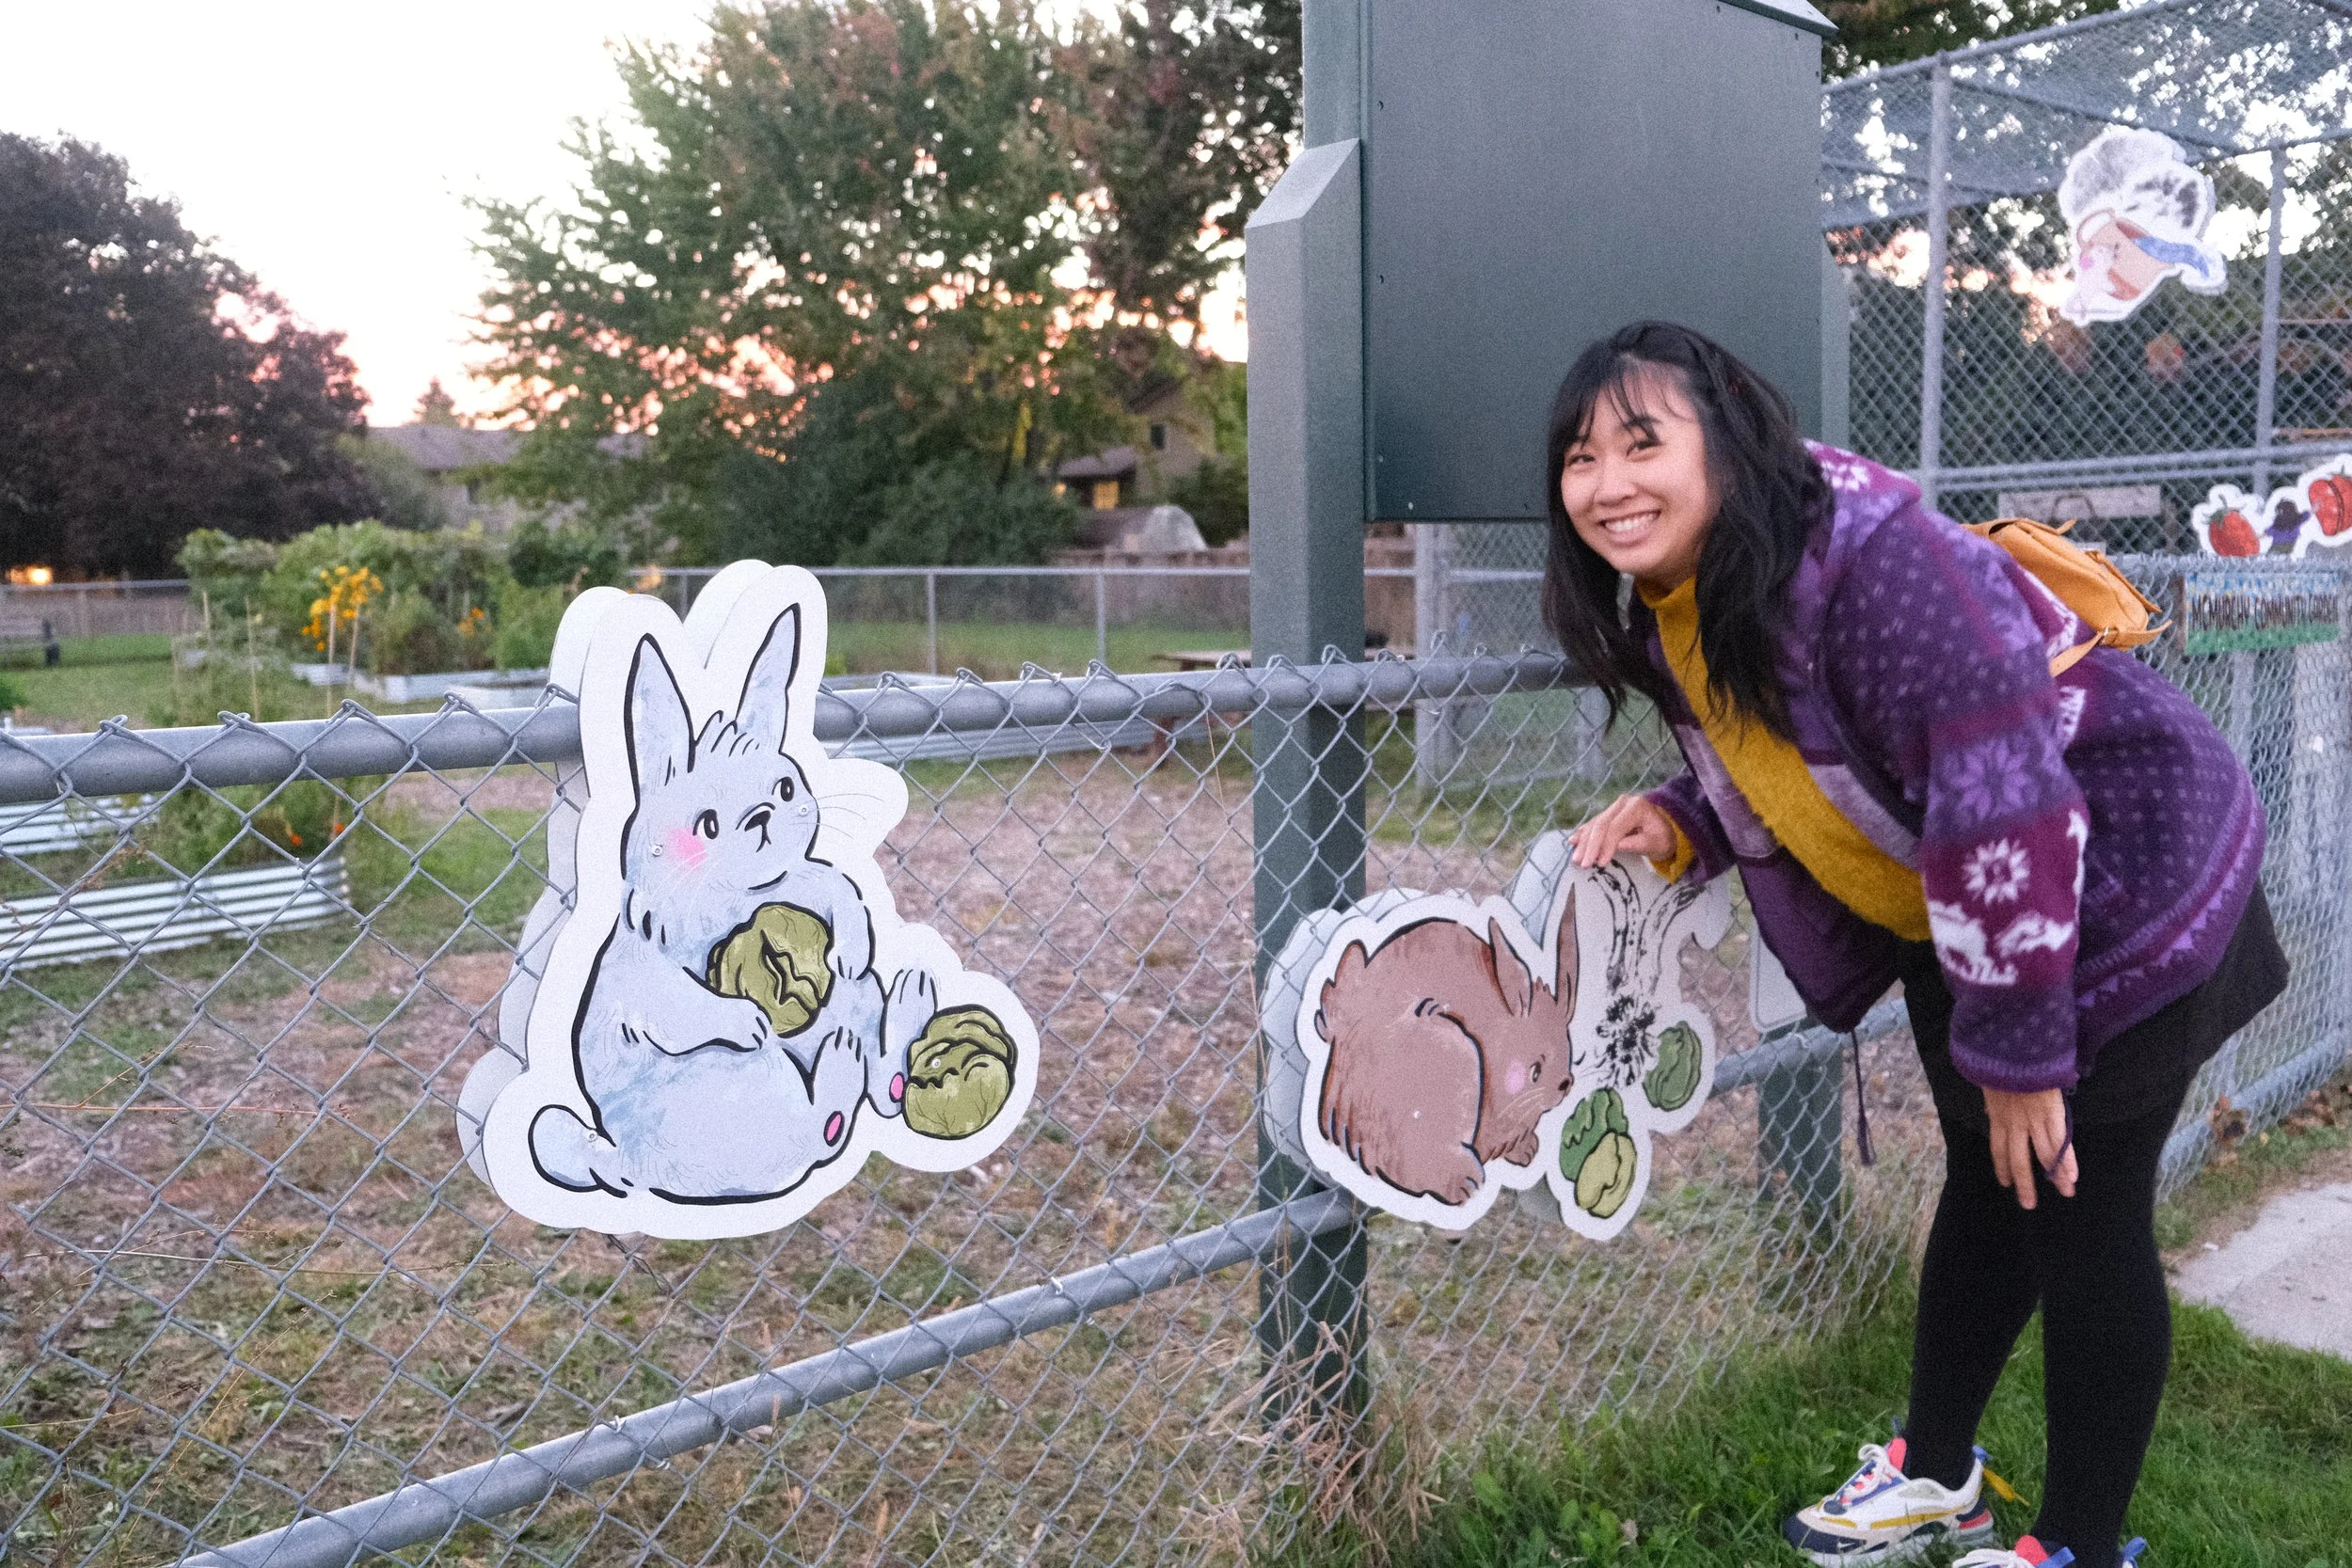
MAKE IT WITH ME: WE ALL GROW HERE

March 14, 2025
JOURNEY TO RIVER, RIVER

January 25, 2024
SNAIL MAIL 2023 ROUND UP

February 15, 2023
TRAVEL LOG: LA ‘23 | WHERE WATER MEETS SKY

December 23, 2022
TRY AGAIN NEXT TIME

August 25, 2022
MAKE IT WITH ME: TO INFINITY AND BEYOND

February 9, 2022
MAKE IT WITH ME: THE PLAYROOM MURAL